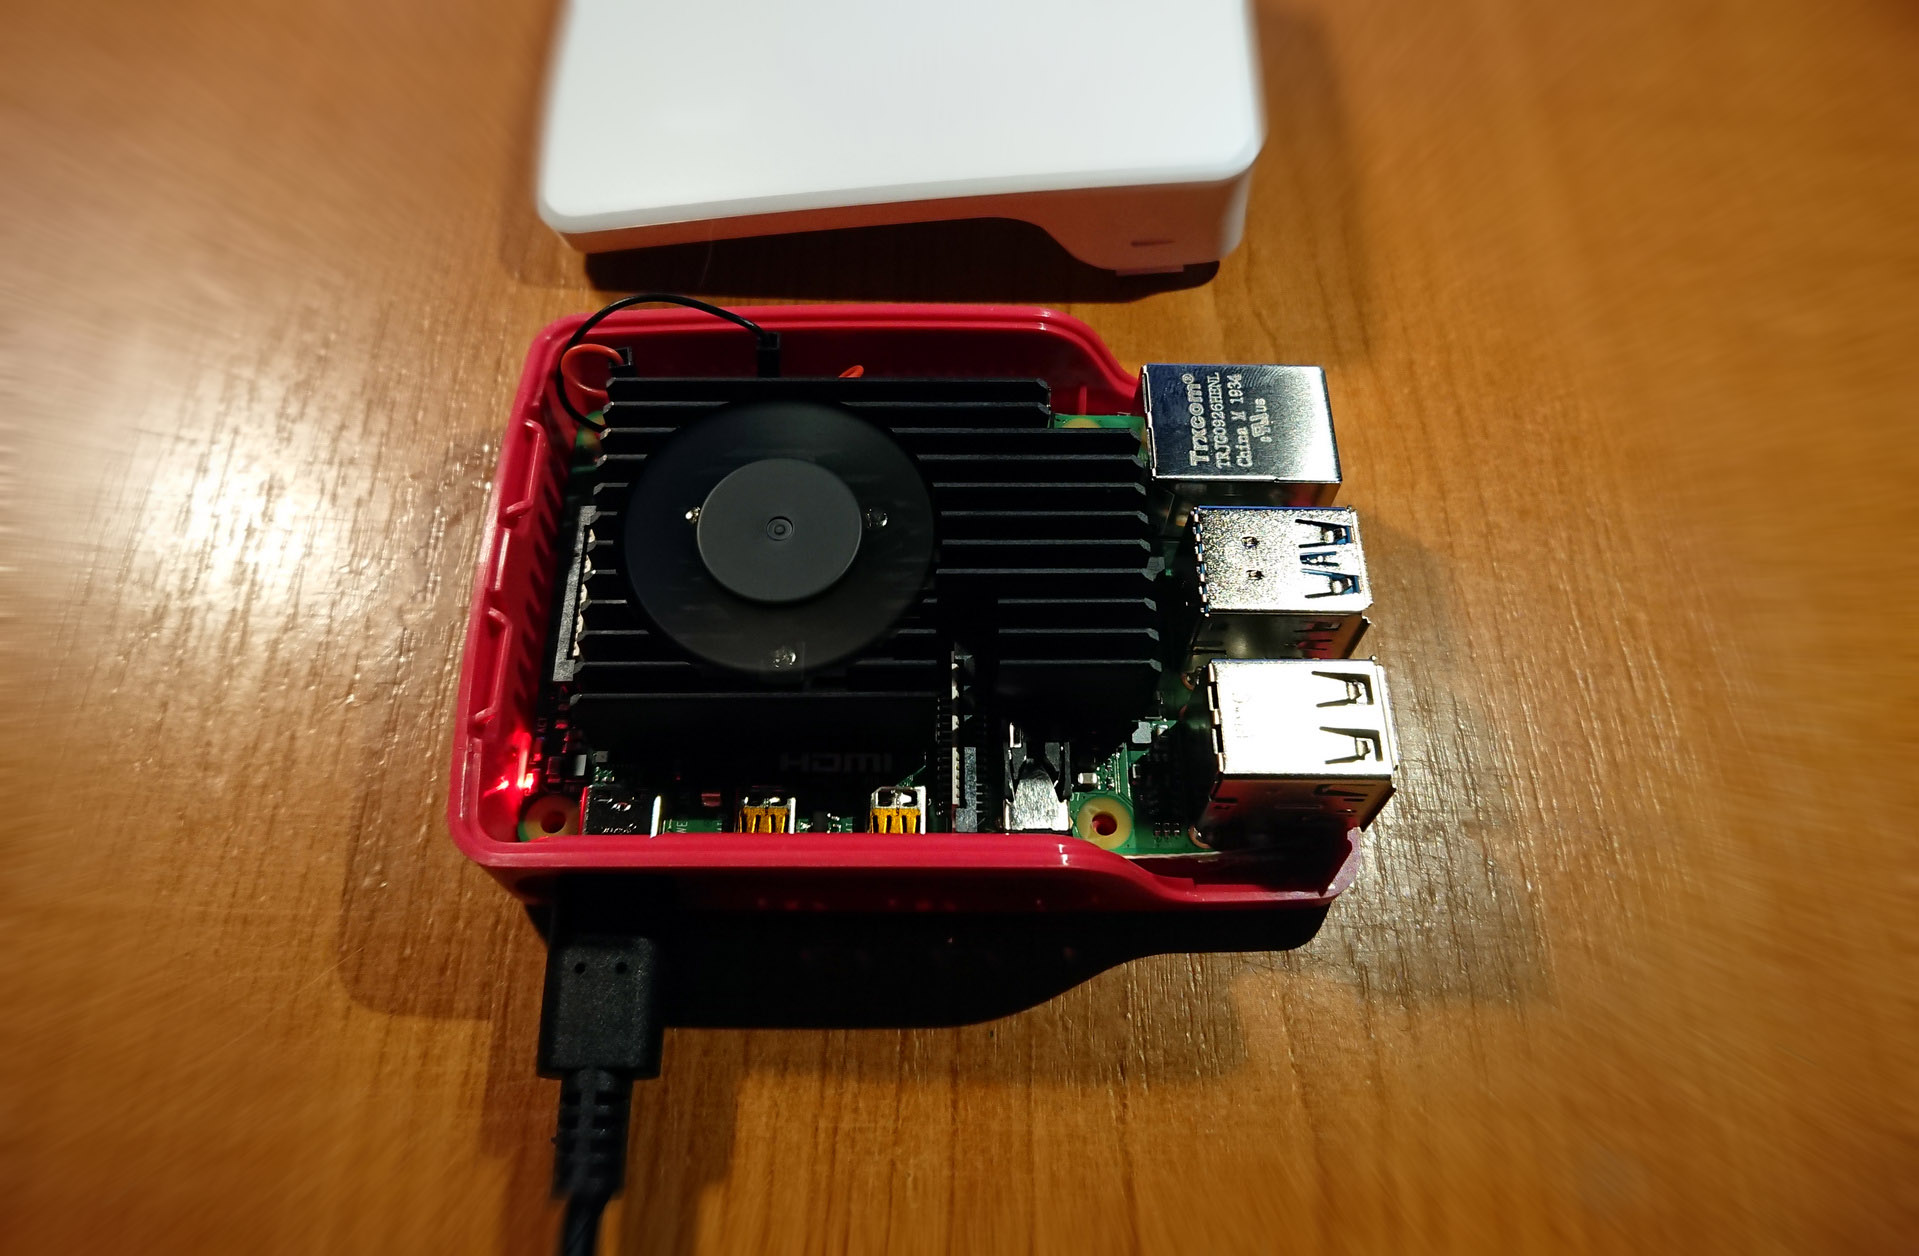
Many Raspberry PI projects are used headless (with no display device attached or if a display device exists, it’s not connected to the default HDMI or analog outputs).
In these instances it’s time consuming to connect the PI to a monitor and keyboard just to configure remote SSH access and wireless connection details (and in some rare occasion it may even not be possible at that very moment).
Luckily, the good folk developing Raspbian implemented shortcuts and workarounds that allow things to be pre-configured even before booting the PI.
1. Prepare the SD card
Download the Raspbian variation of your choosing from
https://www.raspberrypi.org/downloads/raspbian/
and write it to the SD card (you can use either the newer Balena Etcher or the classic Win32DiskImager)
Don’t unplug the SD card just yet.
2. Configure remote SSH access
On the accessible partition on the SD card (normally labelled boot) create an empty file named simply
ssh
3. Configure Wifi connection
On the same SD card also create a file named
wpa_supplicant.conf
and insert the following content in it:
country=CA
ctrl_interface=DIR=/var/run/wpa_supplicant GROUP=netdev
update_config=1

network={
    ssid="NETWORKNAME"
    psk="NETWORKPASSWORD"
}
Adjust the country code, network name and password values accordingly.
4. Getting it going
(Safely) remove the SD card from your computer and plug it into the PI, then power it on.
Depending on the Raspberry PI edition and Raspbian variant you chose the boot process may take more or less to complete. In the meantime you should watch your router’s DHCP leases for new IP address allocations (the PI will register itself with the “raspberrypi” hostname, in case you have too large of a list to remember).
When you see the PI show up, connect to it using the assigned IP address with your favourite SSH client and get started on your latest project. The pre-set Raspbian login is:
username: pi
password: raspberry
Remember to change the password and hostname after logging in (it’s not safe to leave networked devices with their default logins). Both can be configured with the raspi-config utility.
5. Debugging
If you’ve failed to perform any of the steps correctly (mistyped filenames or parameters), then the PI will fail to connect correctly or will connect but remote SSH might not get enabled. You can (uncleanly) power it off, remove the SD card, reconnect that to the computer and safely repeat the appropriate step (to recreate the respective configuration file).
Things to look out for:
-
- correct filenames: the ssh file has no extension – make sure one is not set on the file you create (Windows is notorious for hiding known file extensions by default); wpa_supplicant.conf uses an underscore “_”, not a dash “-“
- correct network name (this is case insensitive)
- correct network password (this IS CASE SENSITIVE)
- multiple DHCP servers on your network? (the PI may be getting its IP from a different device than the one you are checking)
- double check that your Raspberry PI actually has a wireless interface (PI 1, 2 and non-W Zeros don’t)

