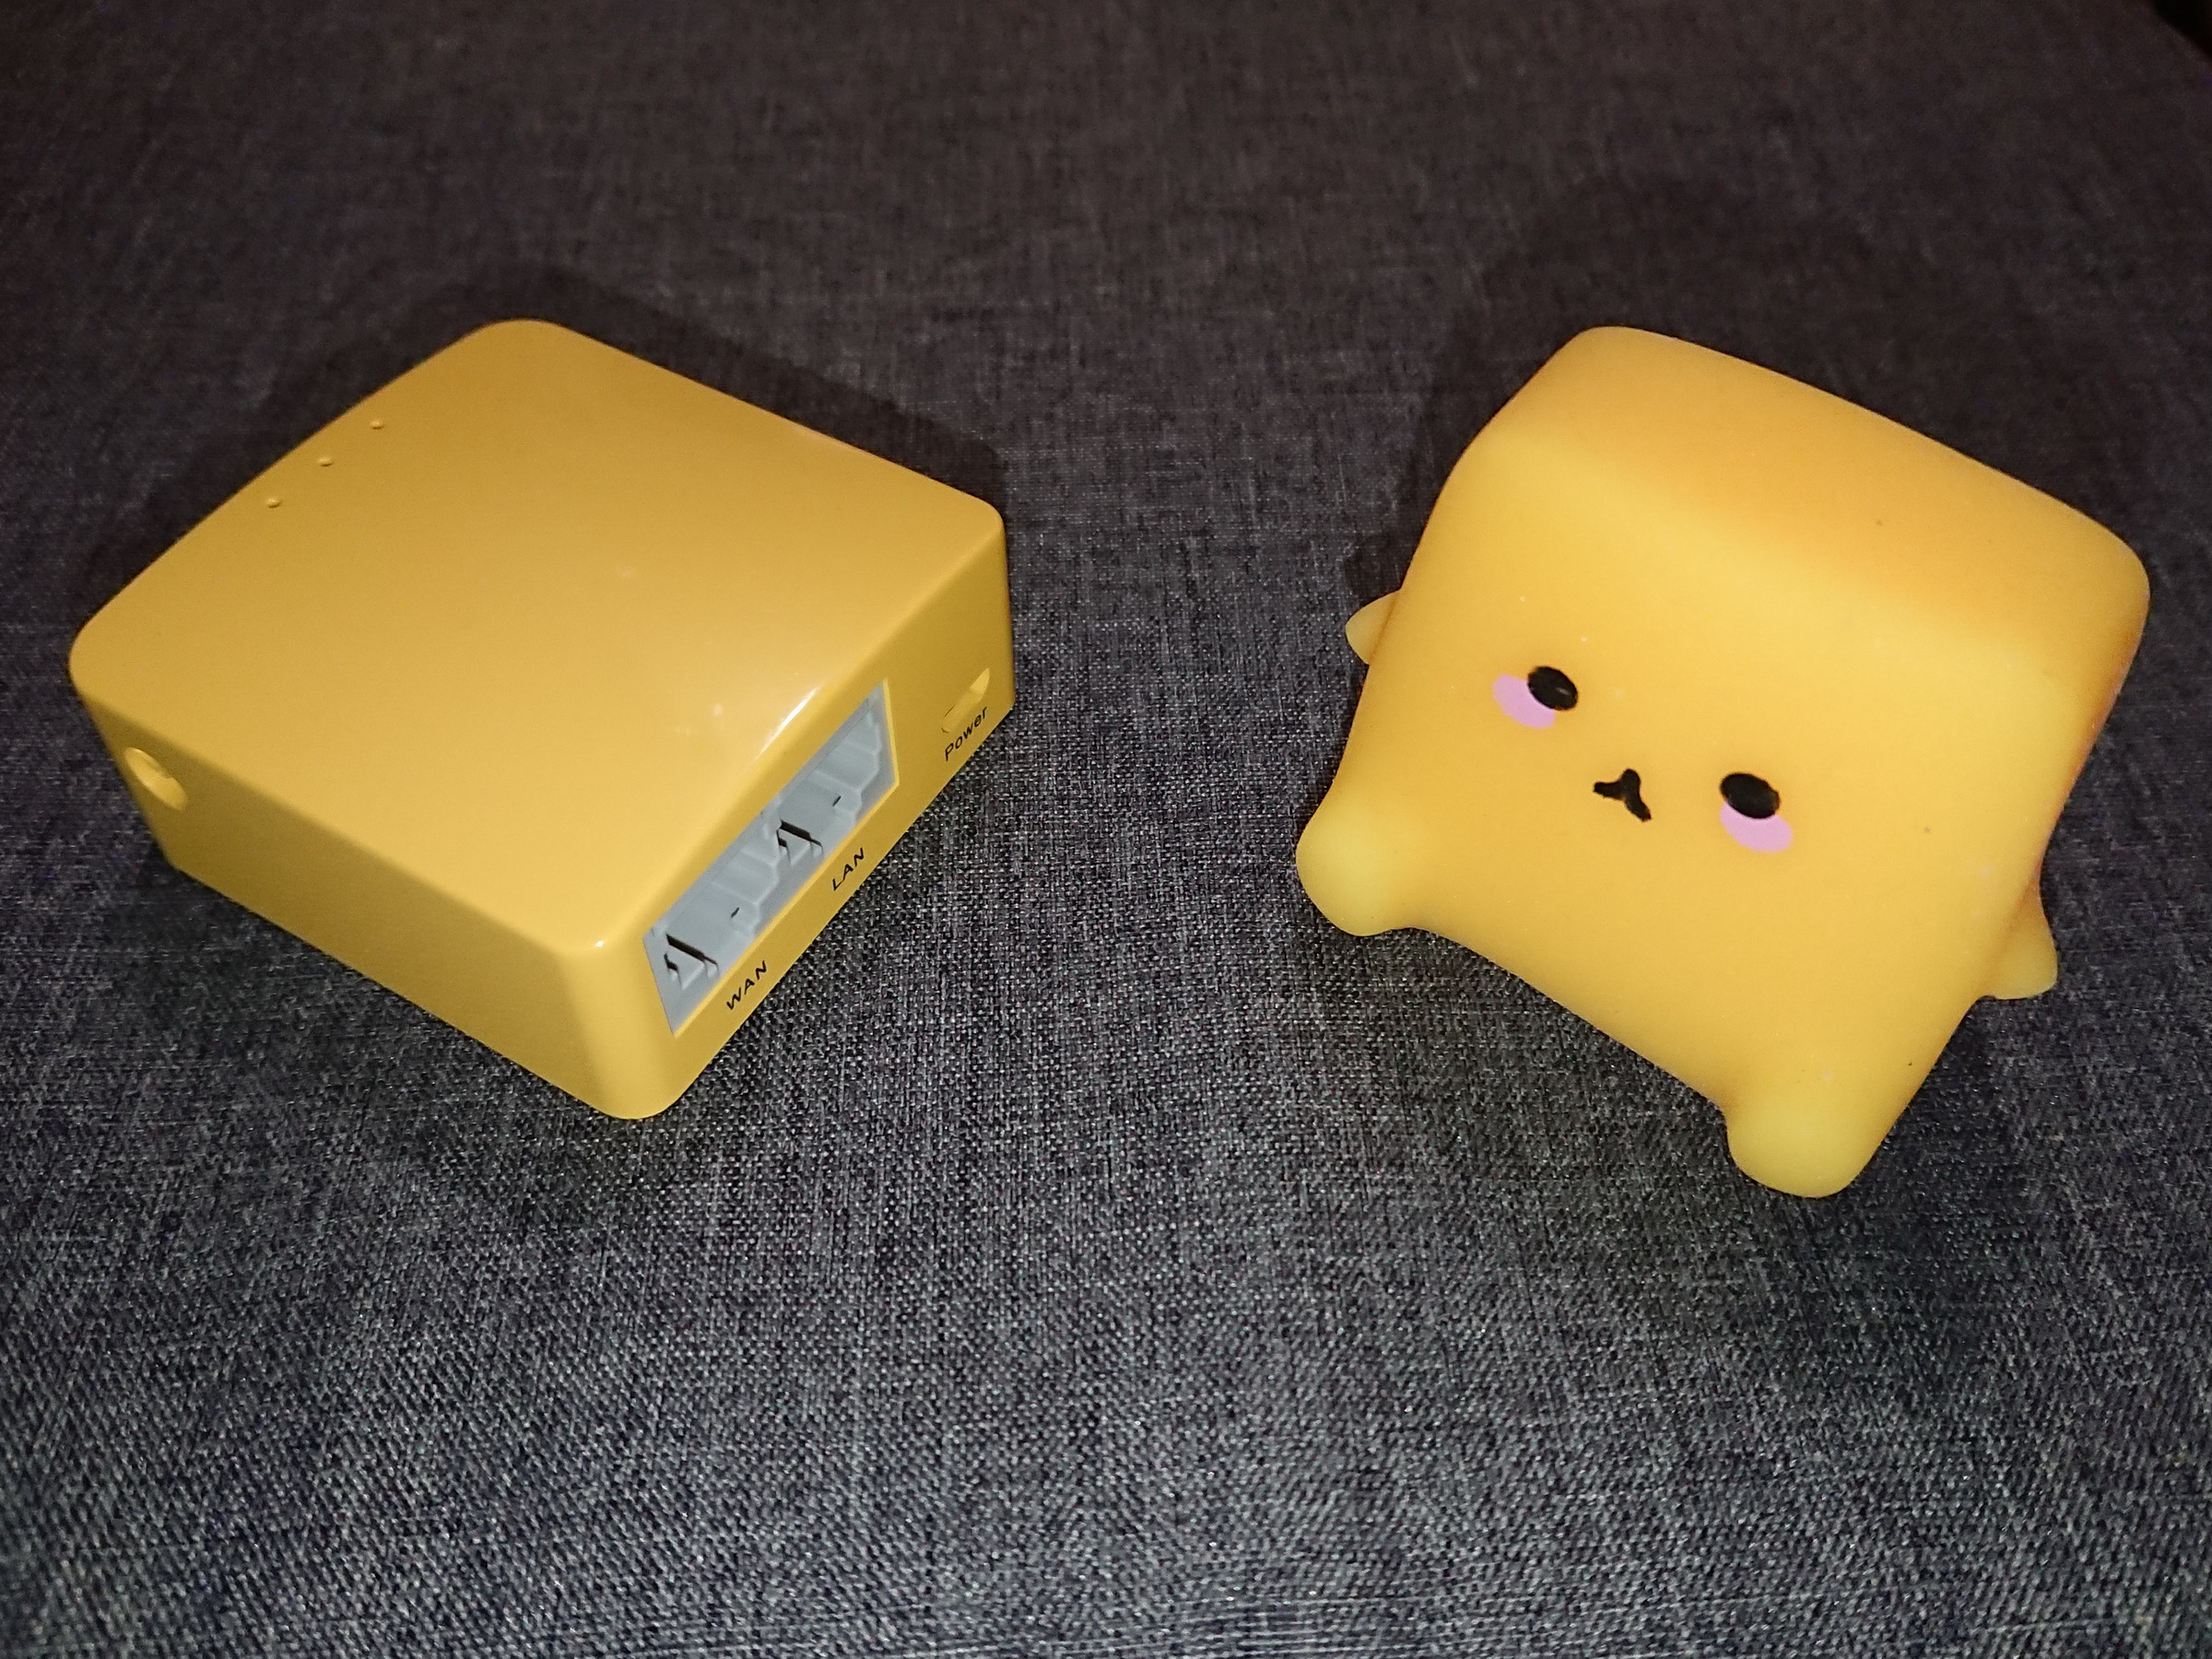
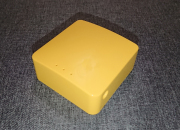
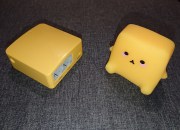
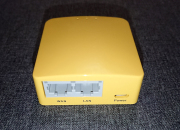
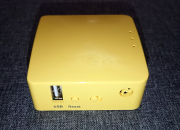
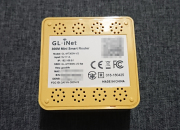
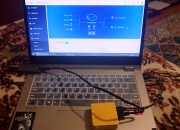
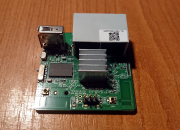
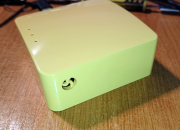
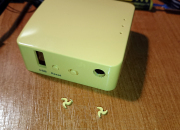
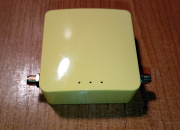
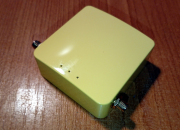
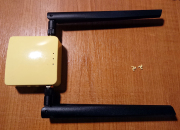
I recently got some new toys to play with, one of them being the GL.iNet GL-M300N-V2 mini (read that as ultra-small) smart router. The “Mango” is indeed very small, and for the price packs some pretty decent hardware specs, not to mention that it’s running a (slightly modified – with good additions I’d say) OpenWrt release, meaning it has access to the entire OpenWrt library of packages (if you find the space to install them in – more on that later).
For the price it also comes with some down sides – such as the lack of external antennas (what I’ll take care of today), only 100Mbps connectivity (acceptable for a highly mobile toy router on a budget), no 5 GHz wireless (I can live
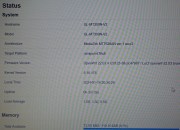
The software lists a MediaTek MT7628AN with 128MB of RAM and a minute 1.5MB of free storage available (out of the 16MB flash chip) running a custom OpenWrt build based on 22.03.4. GL-iNet also provides remote management functionality tied to the device, so better not publish your own DNS ID or serial number online.
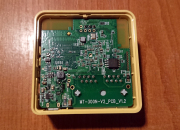
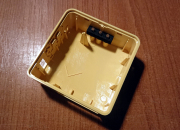
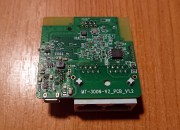
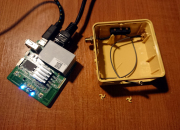
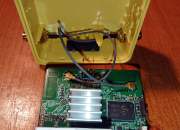
The case is only held in with plastic clips, no screws, so it can be taken apart quite easily with a spanner/wedge tool designed for mobile phones. After removing the bottom cover we’re mooned by the bottom side of the circuit board, of course.
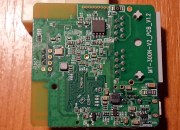
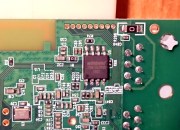
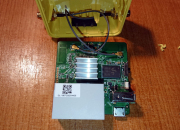
Take note the flash chip is here meaning we don’t have to completely disassemble to mess with the firmware in a hard(ware) way. There’s also some access to the serial UART pins from the bottom. The board has MT-N300-V2_PCB_V1.2 etched on it so I’m guessing the device went through several hardware revisions already (beside being a V2 to begin with).
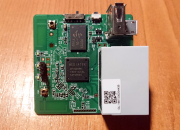
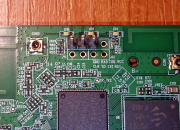
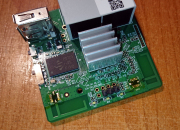
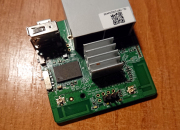
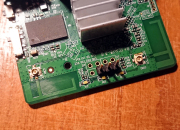
The board is not held inside in any way so it can also be removed easily by tilting it slightly with the same spanner tool. On the top we find the MediaTek MT7628NN SoC, (NN being a trimmed down version of the AN), the RAM chip, the serial pins header (with some populated pins and some extras), another larger header (maybe a JTAG?), the leds and…
Antenna connectors? Surely GL.iNet wouldn’t have made our job so easy… would they?
Adding external antennas to the GL-MT300N-V2 “Mango”
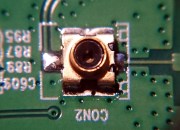
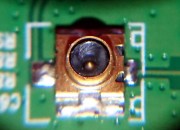
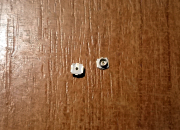
Well, not really. They are connectors, but they’re not the regular IPEX/U.FL. They’re “SWD type switches” manufactured by Murata, basically to allow attaching external test probes to the antennas circuit (while also disconnecting the on-board antennas) and act as a simple pass-through when no probes are attached.
So they’ll have to come off and be replaced with regular U.FL connectors. Which by the way only have 3 contacts (ground on the sides and a single center contact for signal) so be sure to match the proper orientation – the middle signal contact needs to be soldered on the incoming pad from the SoC, not on the pad going to the on-board antenna. Once the new connectors are in place the on-board antennas will be permanently disabled.
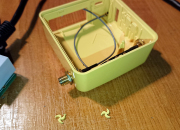
GL.iNet did leave us the antenna holes in the top cover, but they added some plastic protection grills which do need to be removed. The holes are already the exact size of the regular (RP-)SMA connectors, but they lack the anti-rotation inserts so the connectors will require more serious tightening to prevent rotation later.
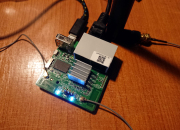
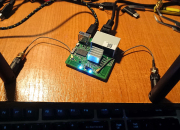
I used the shortest pigtail cables I had because there’s not much room inside to stash extra cabling. Also pay attention to where the cables route during re-assembly to avoid pinching or forcing them to break.
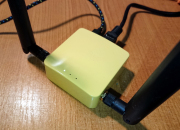
And done, the “Mango” with fresh (color unmatched and disproportionately sized) antennas in all its glory.
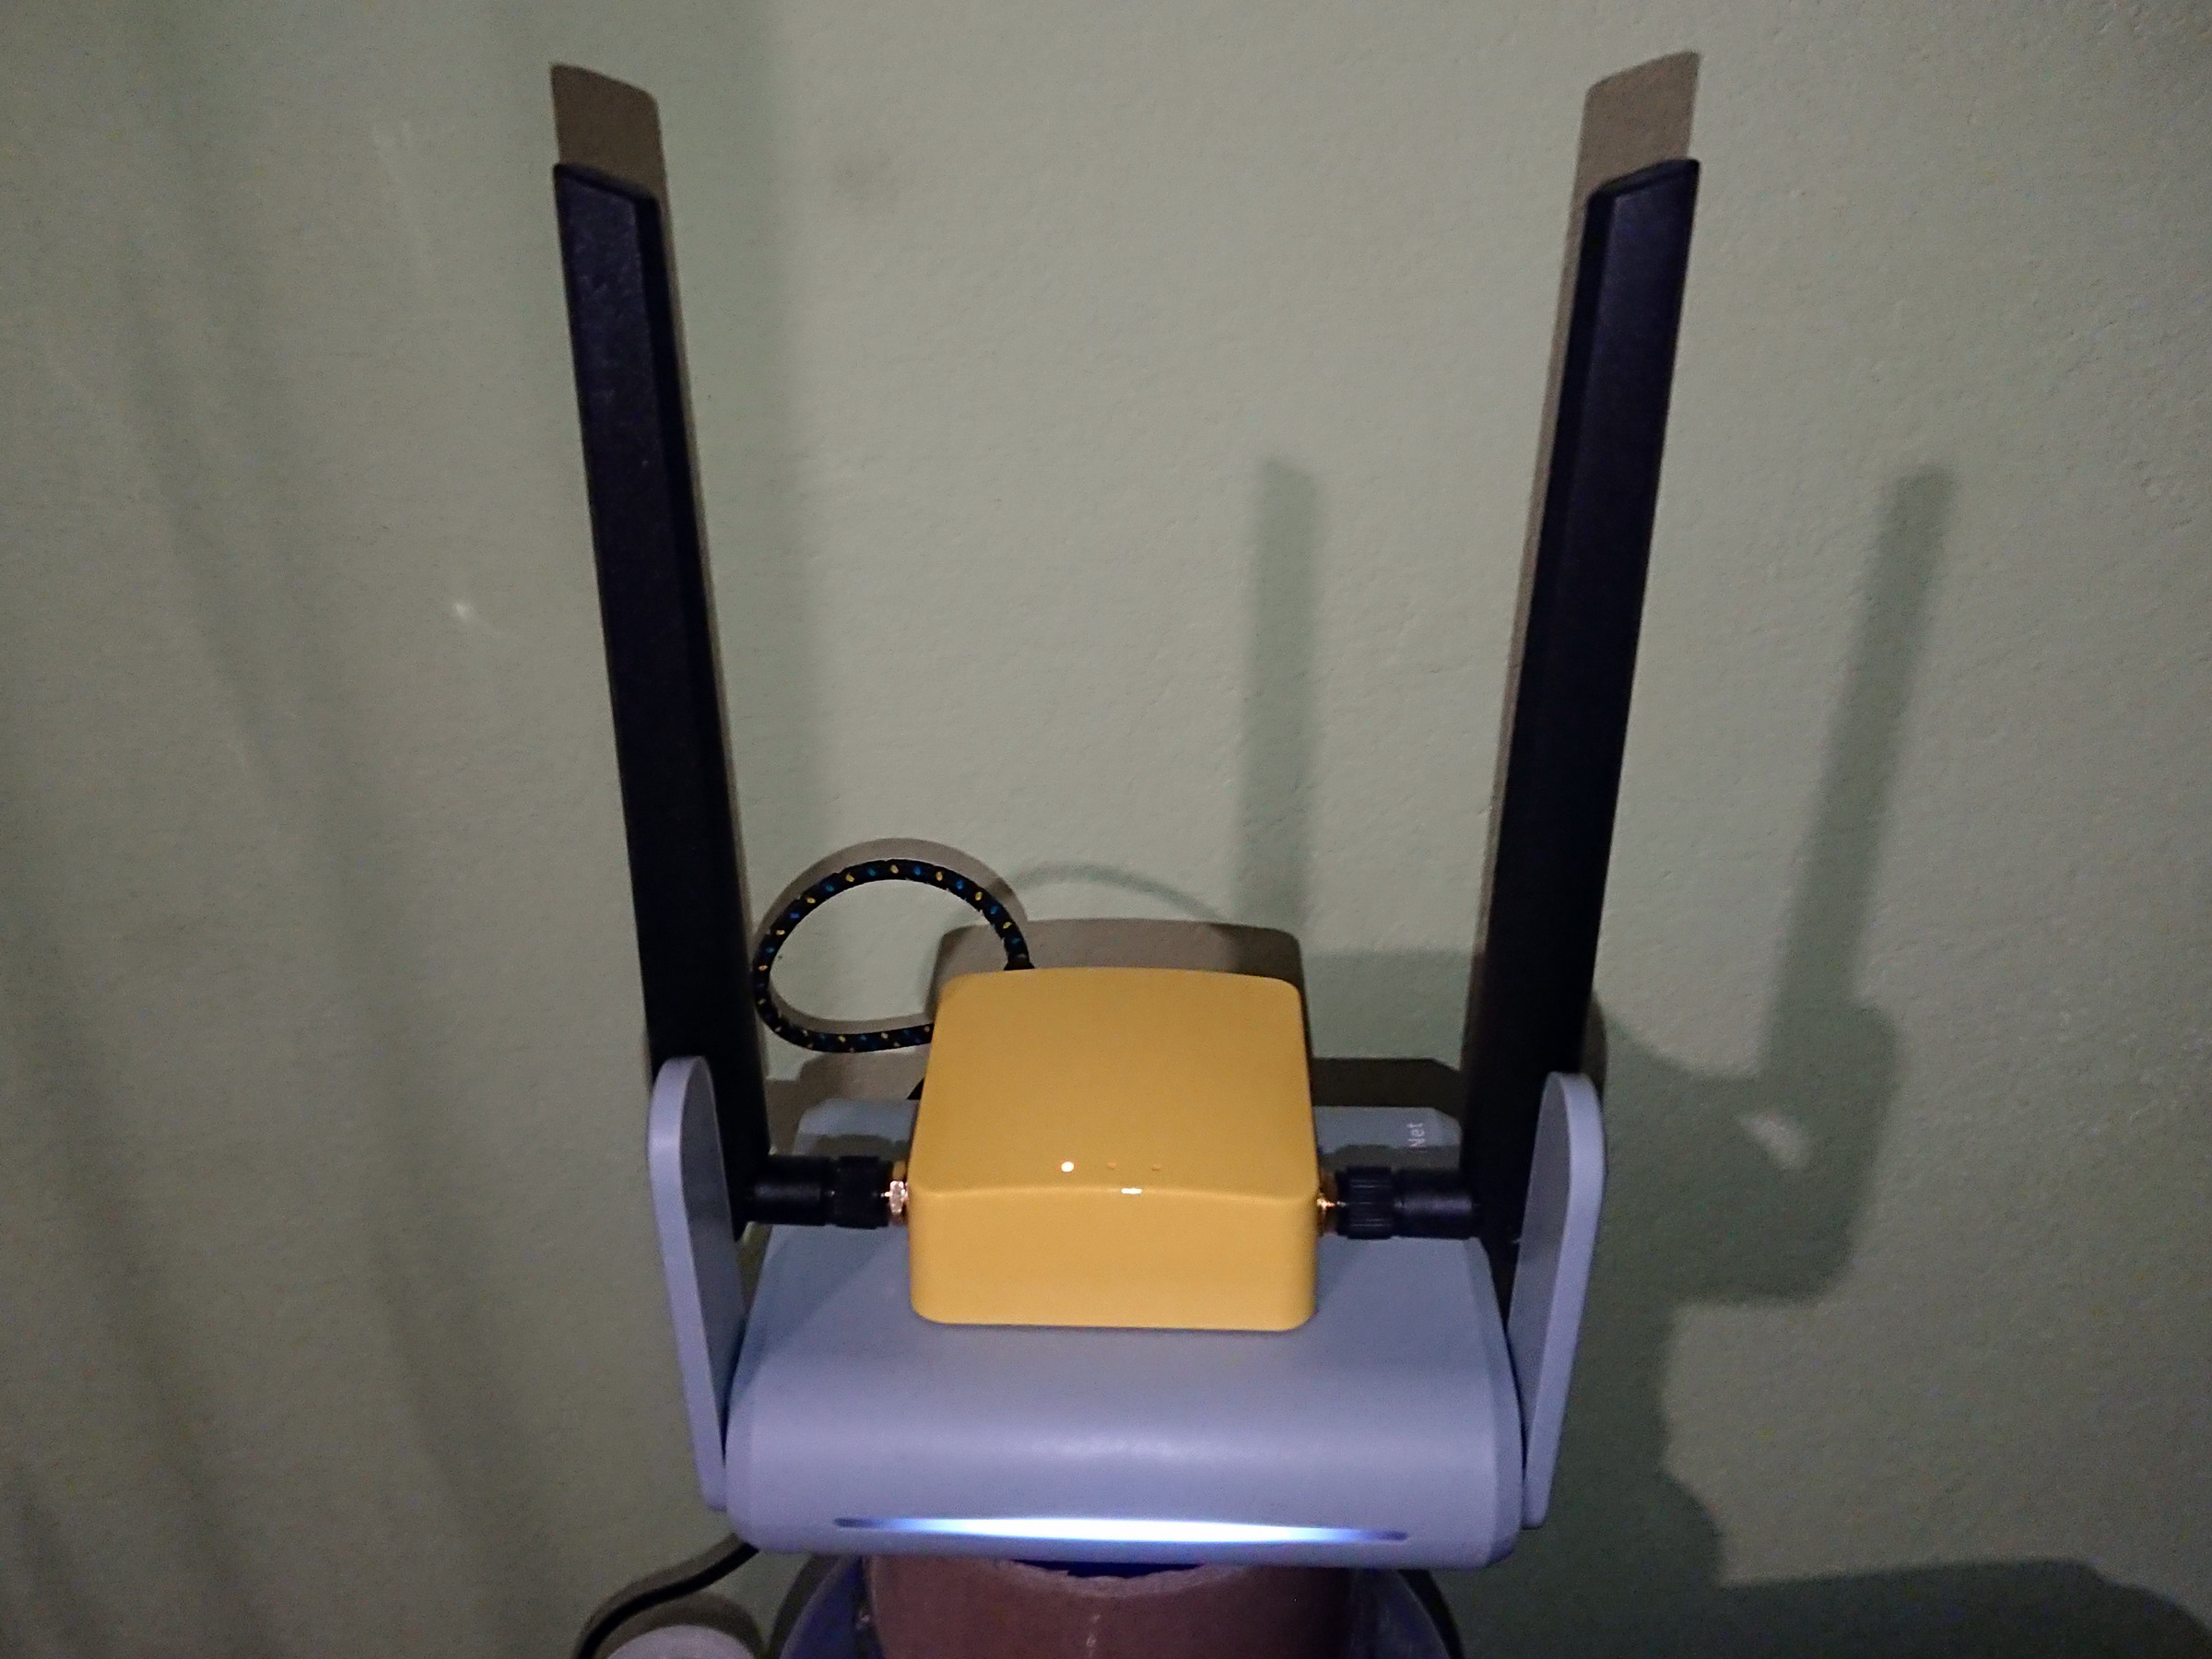
I’m sure I’m messing some built-in antenna/signal calibration by replacing the antennas, but that’s fine by me. Now it can eavesdrop on more of the neighbour’s wireless networks than it was seeing with the on-board antennas.
Now to do something about that limited storage space…
