
I’ve had a gigabit internet connection for a while now and unfortunately my trusty (but slowly ageing) Netgear router is unable to handle this level of throughput – it can achieve about 400Mbps with no NAT rules or around 220Mbps as soon as I enable any port forwards (which I absolutely need) – all these with the original firmware which integrates the hardware NAT feature.
Switching to an open firmware that cannot do hardware NAT, the throughput drops even further to about 120Mbps.
So I have been looking for a good alternative which could handle the bandwidth, and I believe I made a good choice going with PCEngine’s APU2 embedded system. I got the C2 variant, which means an x86_64 quad core 1GHz AMD Jaguar processor, 2GB DDR3 and 3 Intel gigabit NICs. Extra features include 3 mini PCIExpress ports (for mSATA storage, networking or 3G/4G modems), USB 3.0 and SD ports in a small and power efficient format.
I tested the installation on both SD and SATA and noticed the SD being noticeably slower, and not necessarily due to the SD card as the card I used was a high-speed (90MB+) 32GB SDXC card. So I decided on sacrificing a SATA SSD (which I would replace later on with a smaller mSATA SSD) to use in the APU.
I tried following various tutorials dedicated for installing both pfSense and OPNsense, however they didn’t quite work on the APU (or in my case), so I combined them into a personal monstrous procedure which worked successfully.
Requirements
- SATA/mSATA SSD, SD card or USB stick to install OPNSense onto; I installed to both SATA SSD and SD card with this method
- additional USB stick to boot the installer from
- serial (DB9) cable and/or adapter to access APU’s serial console
Preparation
Prepare the destination SSD by deleting all partitions on it (delete the partitions or wipe the beginning of the disk) and leaving it empty.
Download the OPNSense image from opnsense.org: select amd64, serial console and a mirror close to your location. If you’re running Windows use Win32DiskImager to write the downloaded image to a USB stick (despite varying reports I successfully used both USB 3.0 and 2.0 sticks on the APU 2 I have – bios 4.0.6). On Linux a classic dd <image> <device> will do.
Installation
Assemble your APU (don’t forget the thermal interface for the CPU) then plug in or connect your target storage (SSD/SD/stick) and plug the installation stick into one of the USB ports.
Connect to the serial console (on Windows I use puTTY for the task) – the console settings are 115200 (speed), 8 (data bits), No (parity), 1 (stop bits).
Power on the APU, you’ll see the bootloader prompt:
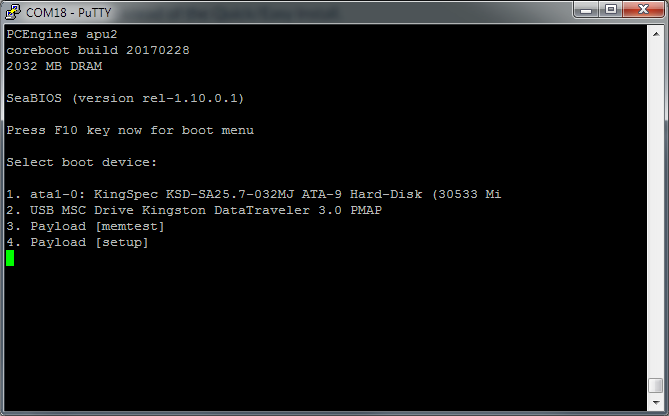 Press F10 to trigger the boot menu: here you can select the boot device, run memtest or set the default boot order.
As my APU will boot from SATA and later from mSATA I’ve set the order to mSATA, SATA, SD, USB so it never accidentally tries to boot from a connected USB stick if I ever forget one in.
Continue by selecting to boot from the installation stick (2 in the image above).
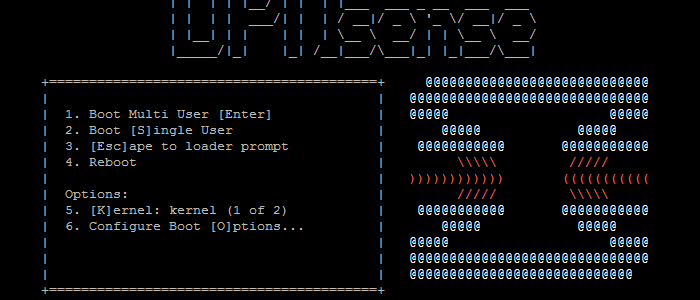
After some garbled output the OPNSense loader will reach the following screen:
 Press 1 or do nothing to continue with the normal startup procedure. Remember 2 in case you’ll ever need a recovery environment.

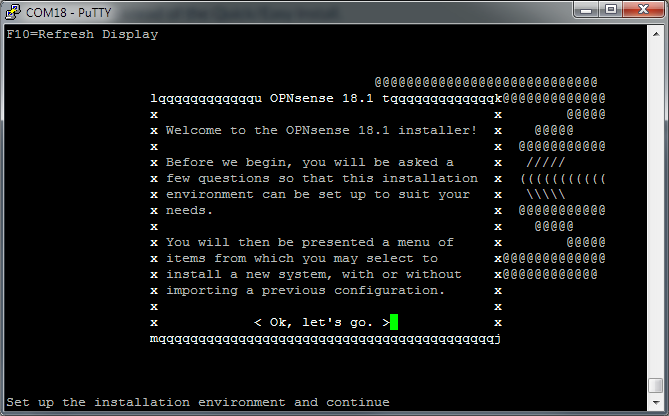
 The installer will later prompt you to import an existing configuration and set default interface options. Unless you know you want/need to do this, don’t press any key to continue normally.
When the installer finishes starting, you will be presented with the login prompt:
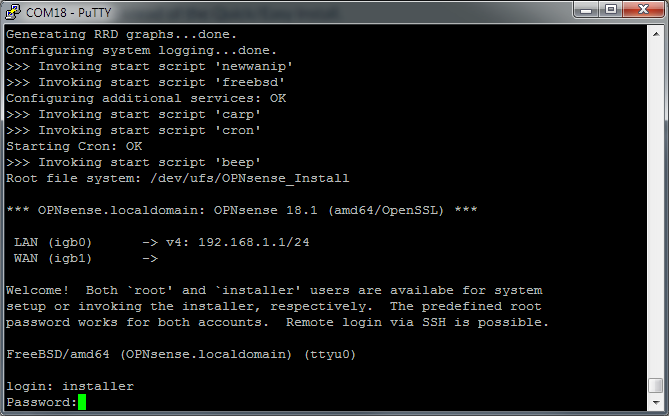 You can now start the installer by signing in with the installer user or start a live session by using the root user. For both the default password is opnsense.
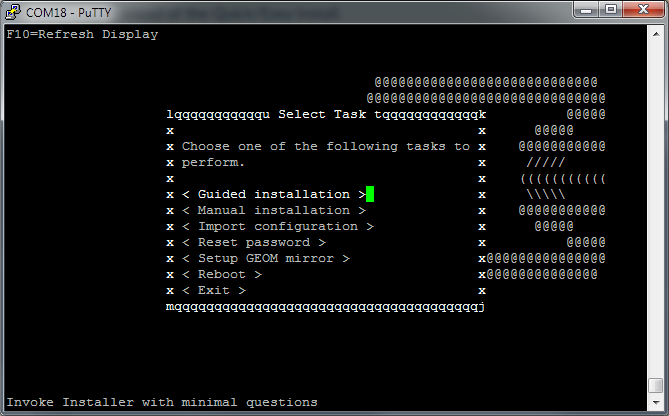 The guided installation is sufficient in most cases.
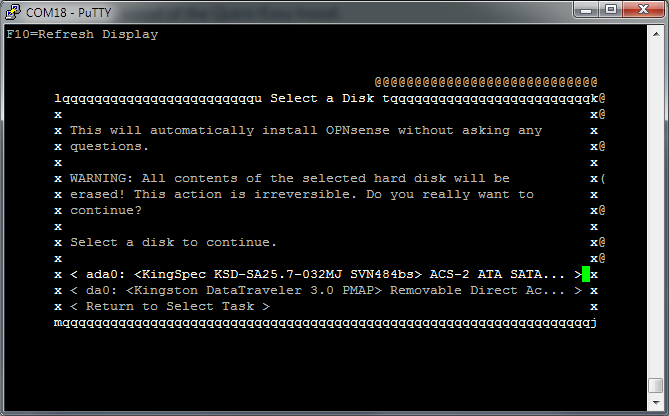 Select the target storage medium.
If you forgot to wipe the drive and it has partitions on it OPNSense might refuse to display it in this list (to avoid data loss).
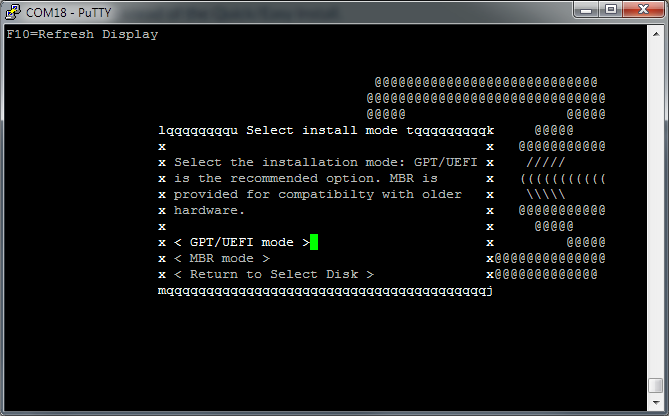 GTP/UEFI partitioning is fine for the APU.
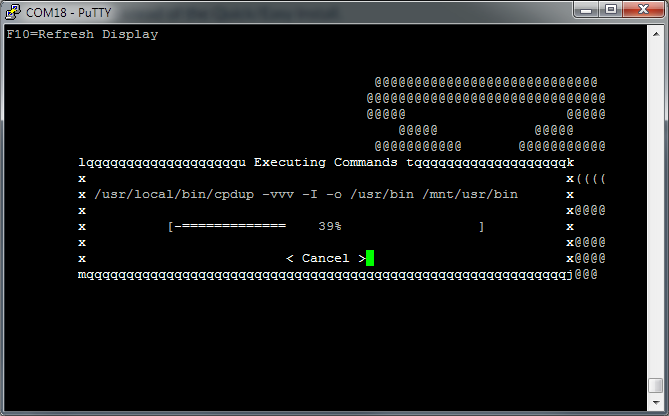 You’re almost done, OPNsense will partition the disk and copy necessary files and packages.
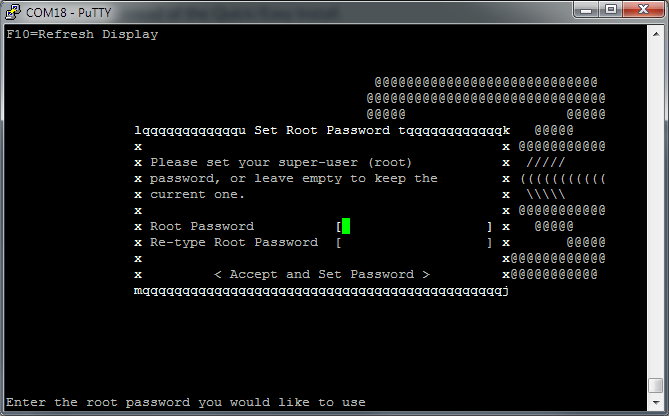 Set a strong root password.
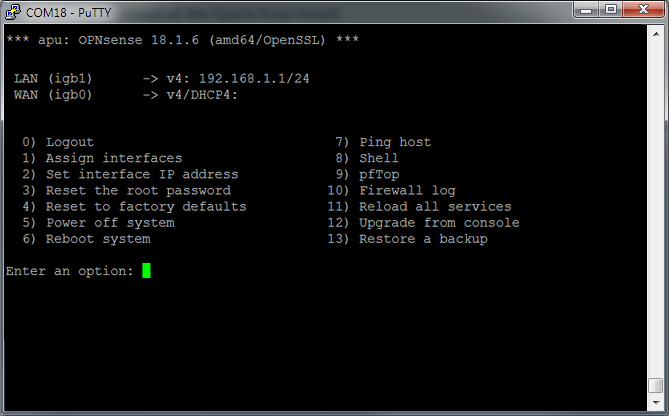
 And the installation is complete. Select Reboot and disconnect the installation stick after the APU reboots and the F10 prompt reappears. Don’t press F10 and let it boot from SATA (or SD).
Once boot is complete you should be able to connect to it via the network (default LAN IP is 192.168.1.1, but you can also use the console to find/change the LAN IP).
Awesome guide. Thanks a lot.
This is a beautiful guide, including all important information for a flawless installation. Thank you very much for it.