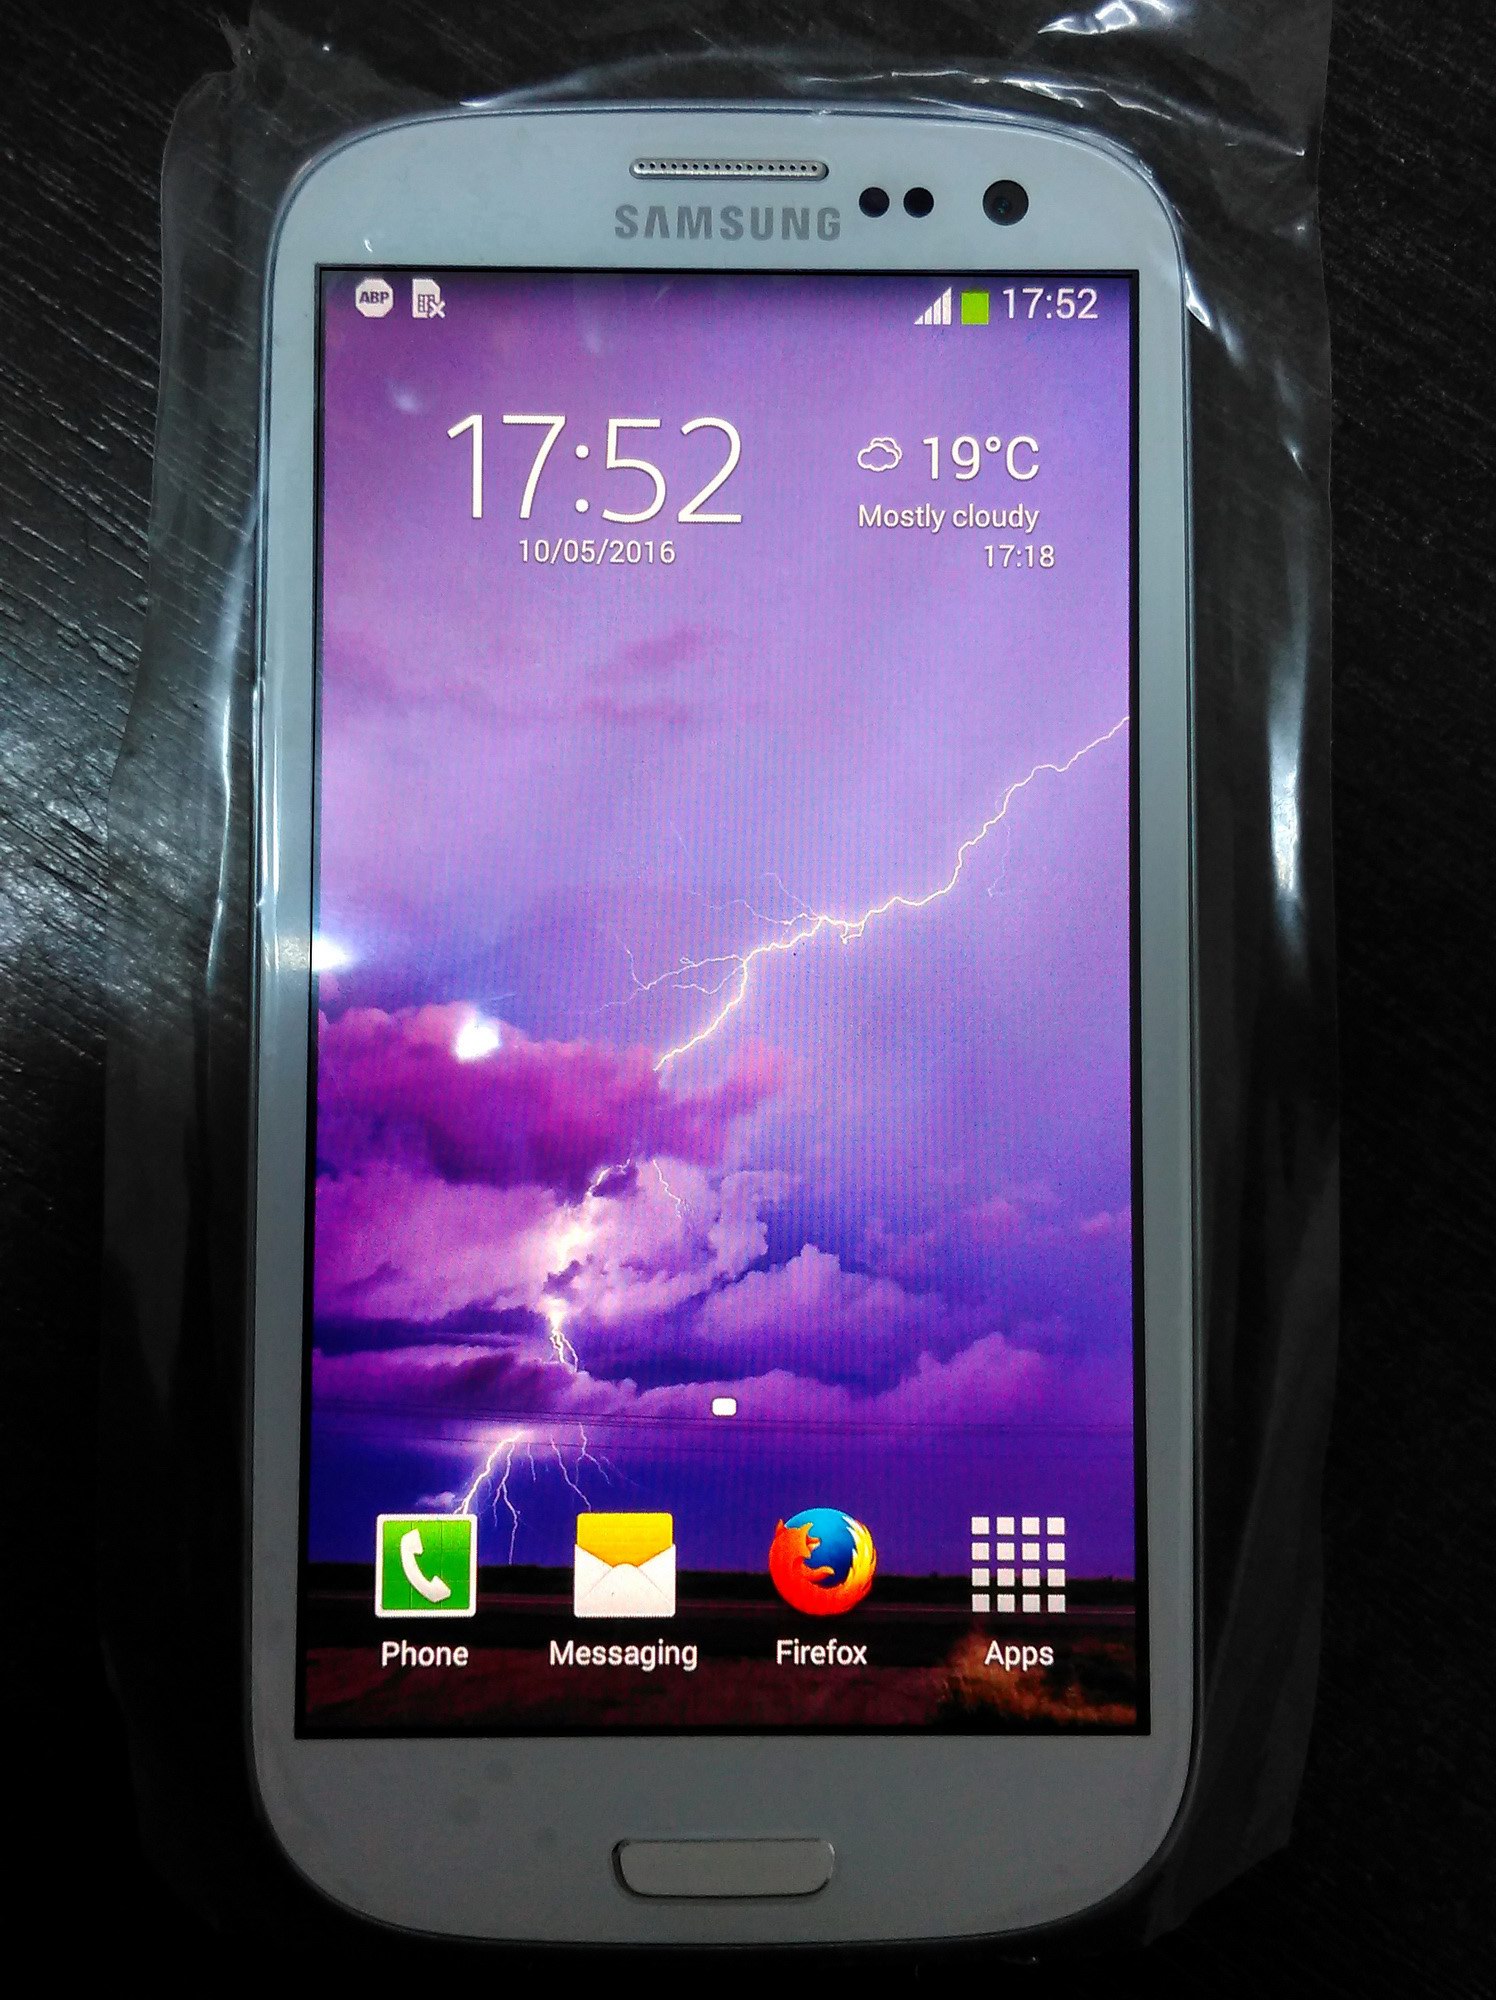
The Tools
- Hair dryer or heat gun
- Screw drivers
- Clear tape
- Plastic prying tools
- Double sided tape
- New digitizer/glass (from eBay)
- New frame (from eBay)
- Patience (lots and lots of it)
- Cotton gloves (parts get very hot)
- Game cards or a case protector (very thin plastic piece for getting under the digitizer and display)
- Isopropyl alcohol
Step 1
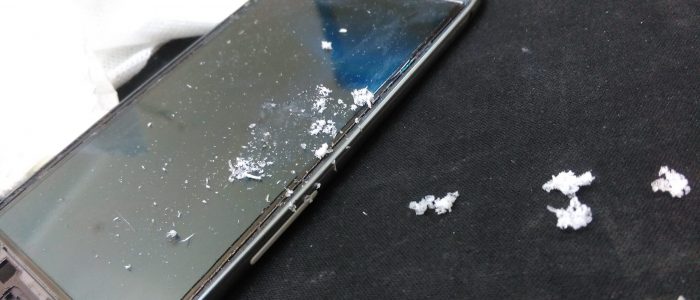
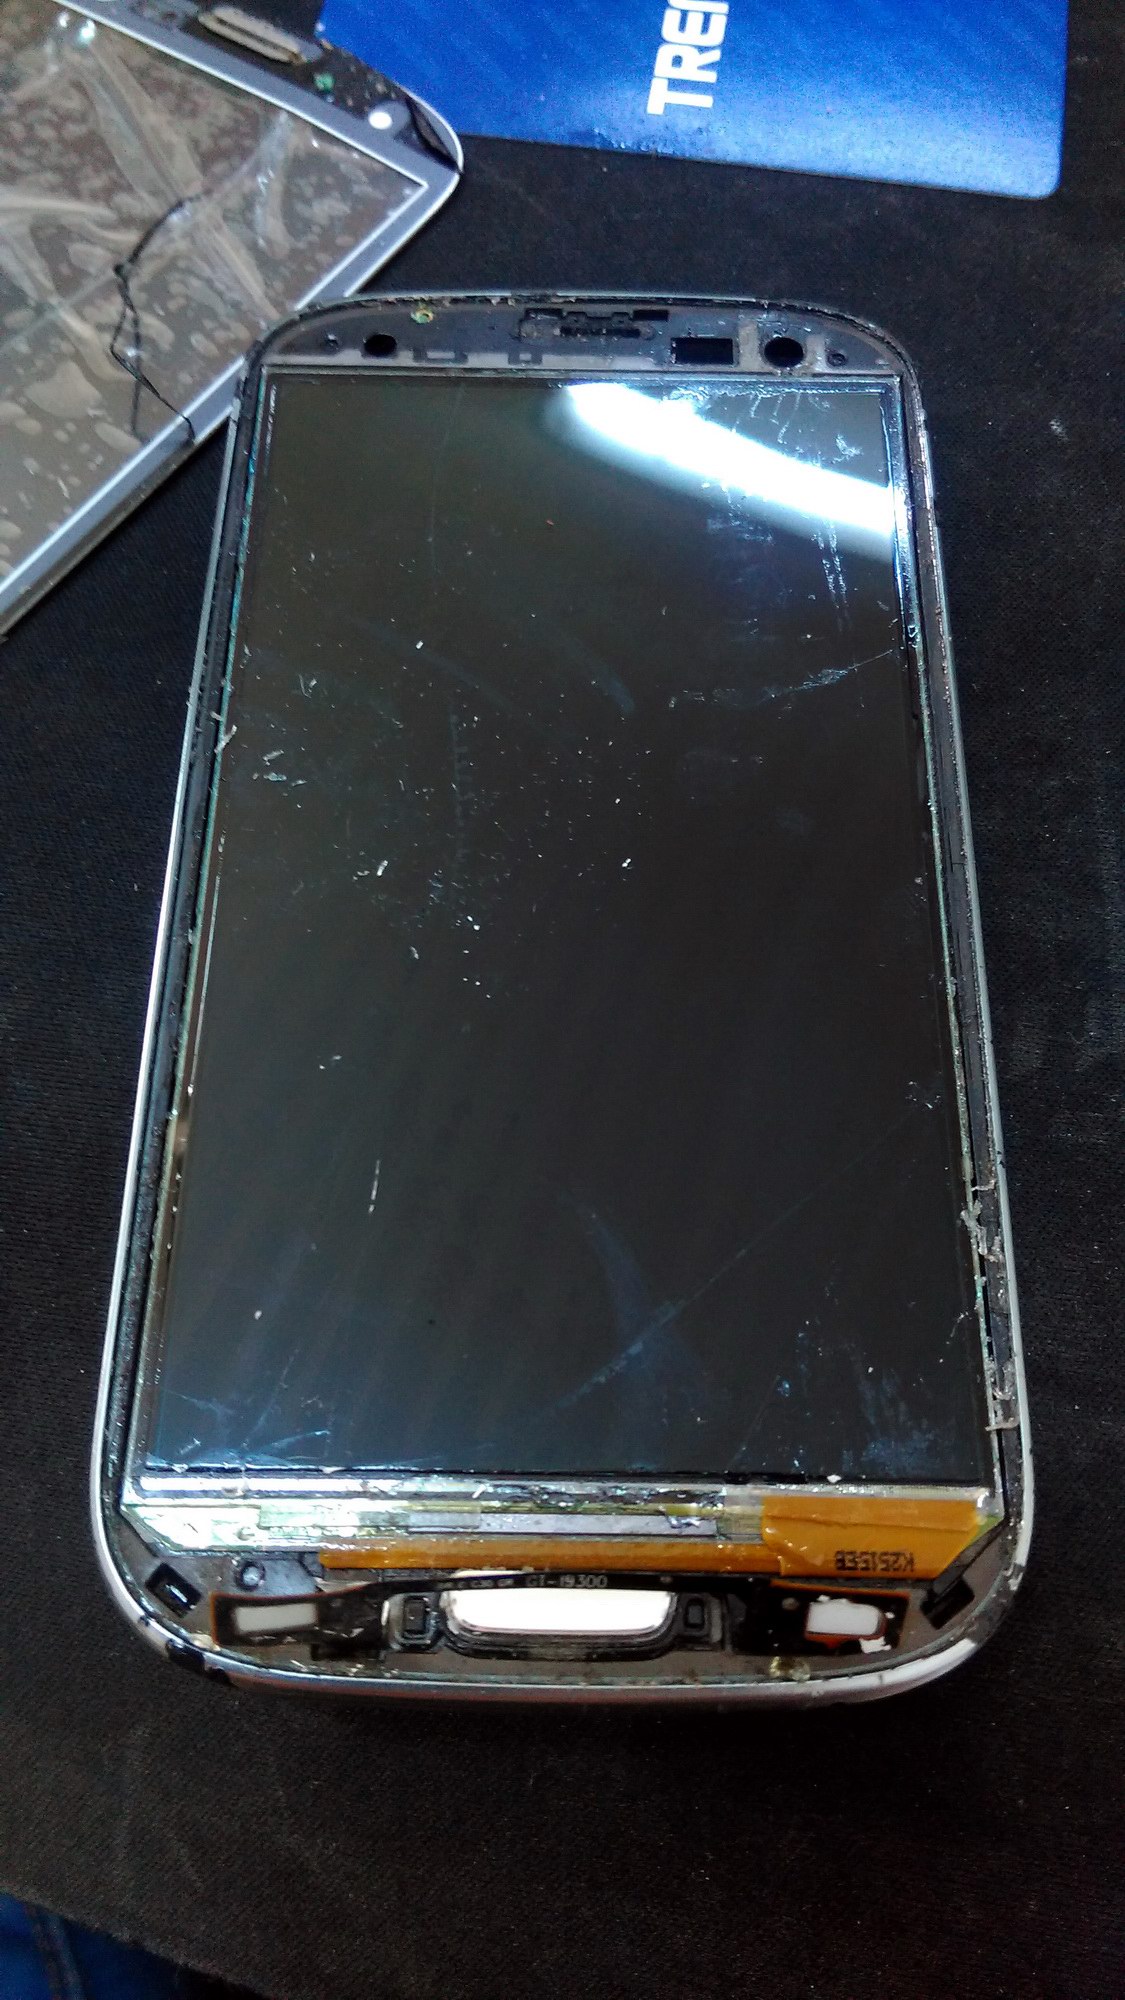
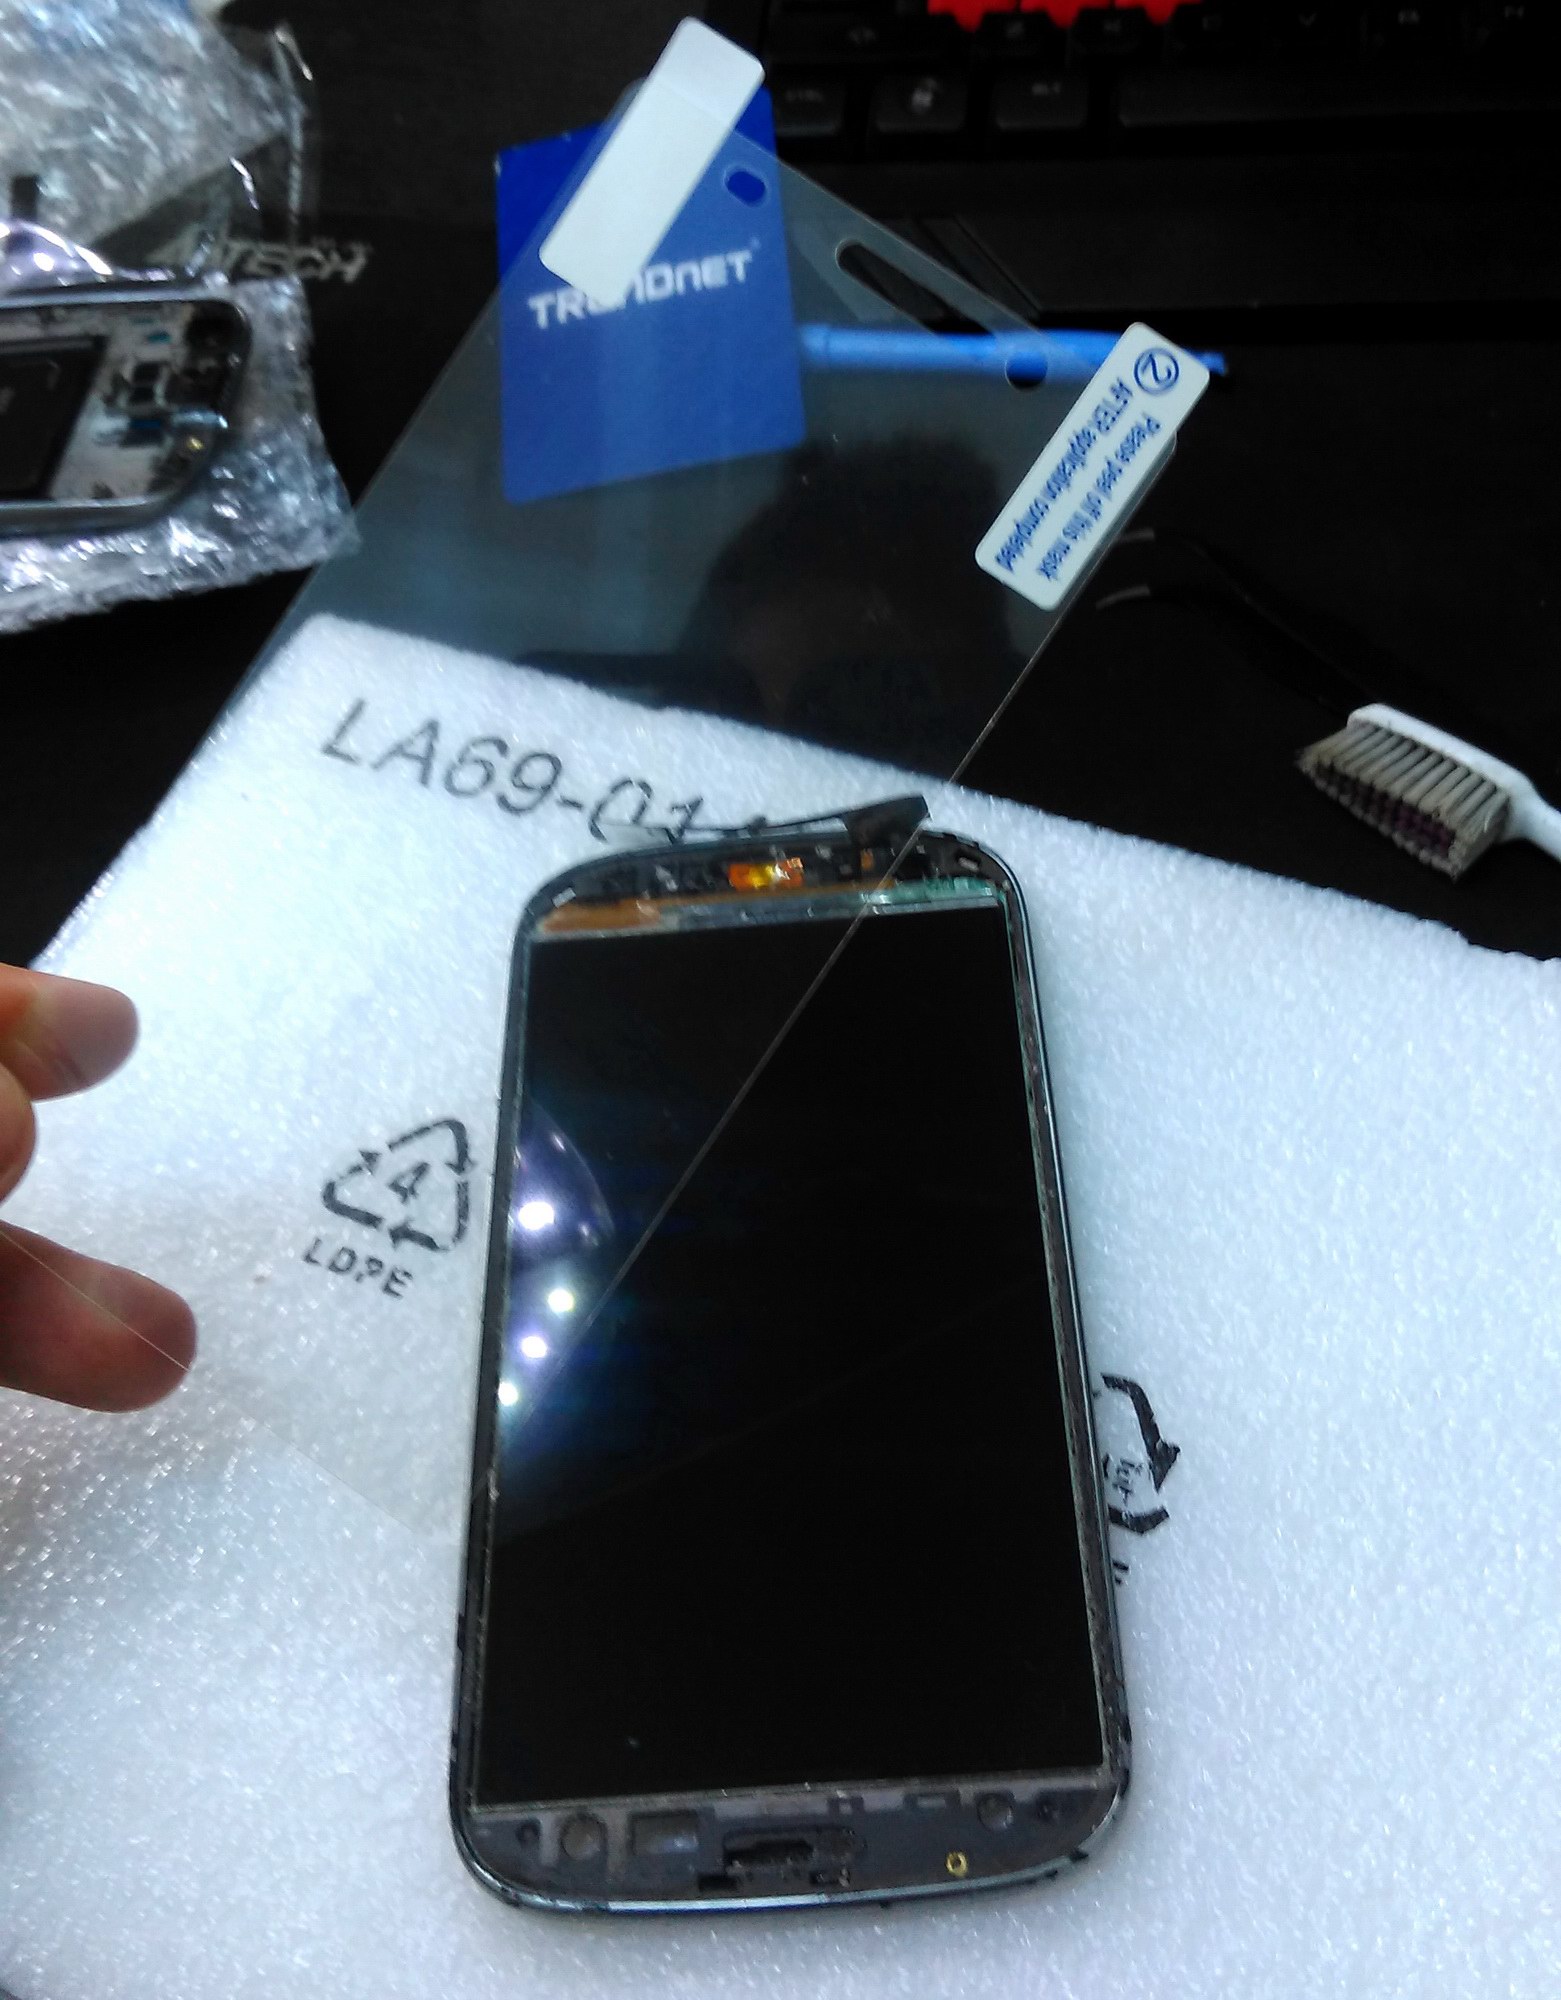
Get your clear tape and cover all the shattered glass. This will prevent the broken pieces ending up all over your hands and potentially cutting you. Cover the whole digitizer but don’t cover the edges. You will need to get under it by prying trough the edges.
Step 2
Remove back cover, battery and start disassembling the phone. Remove as many parts as you can if you plan on changing the display or removing it from the frame. Be very careful with ribbon cables as they are very sensitive. Once you get the board off, remove any remaining switches or rubber grommets.
Step 3
Grab your heat gun and start heating up the glass. Don’t heat a single area too much, for too long. This may damage your display! Once you feel it warm enough, grab one of the prying tools and gently try lifting the digitizer. Be very delicate! If you feel it’s not giving up easy, heat the area some more.
 Using the prying tool, keep a small gap between the bezel and the digitizer, then insert your plastic card or whatever you might have. Work your way around the edge of the digitizer, heating and keeping steady pressure. Be very patient and take your time. The top edge will house the speaker grill, work around it. The bottom part will house the capacitive keys and home button. Same here, get around them.
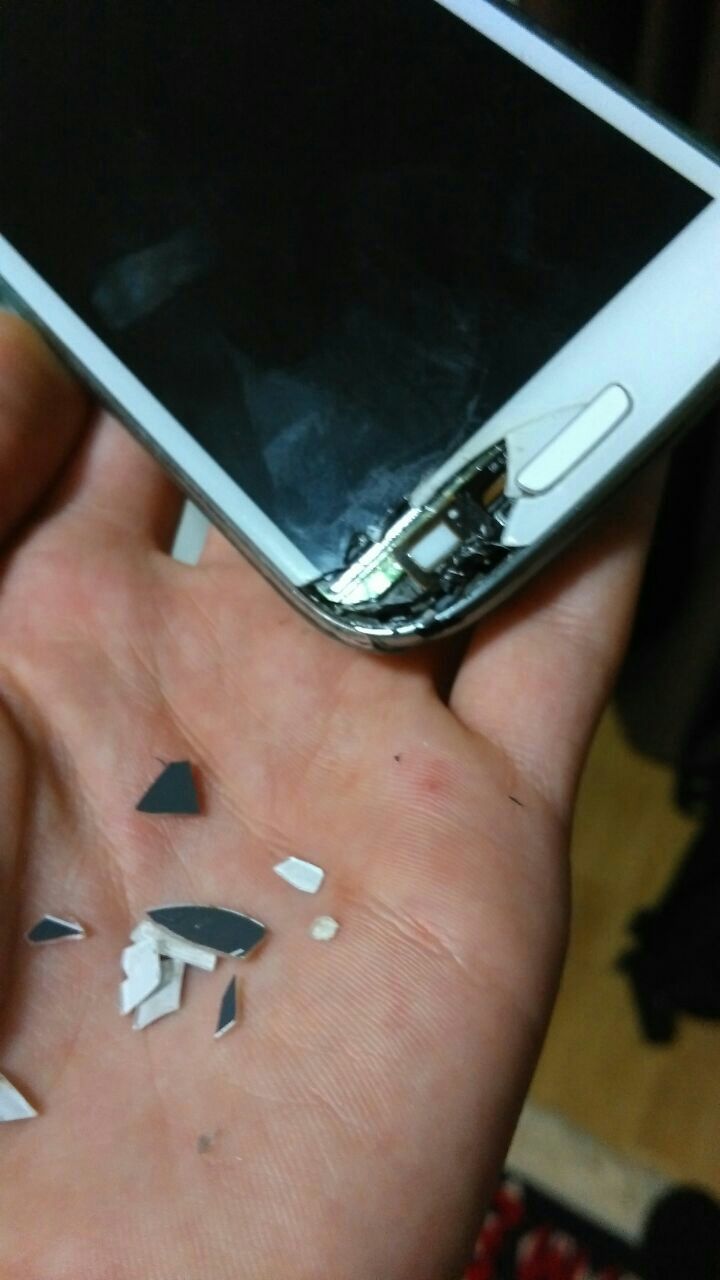
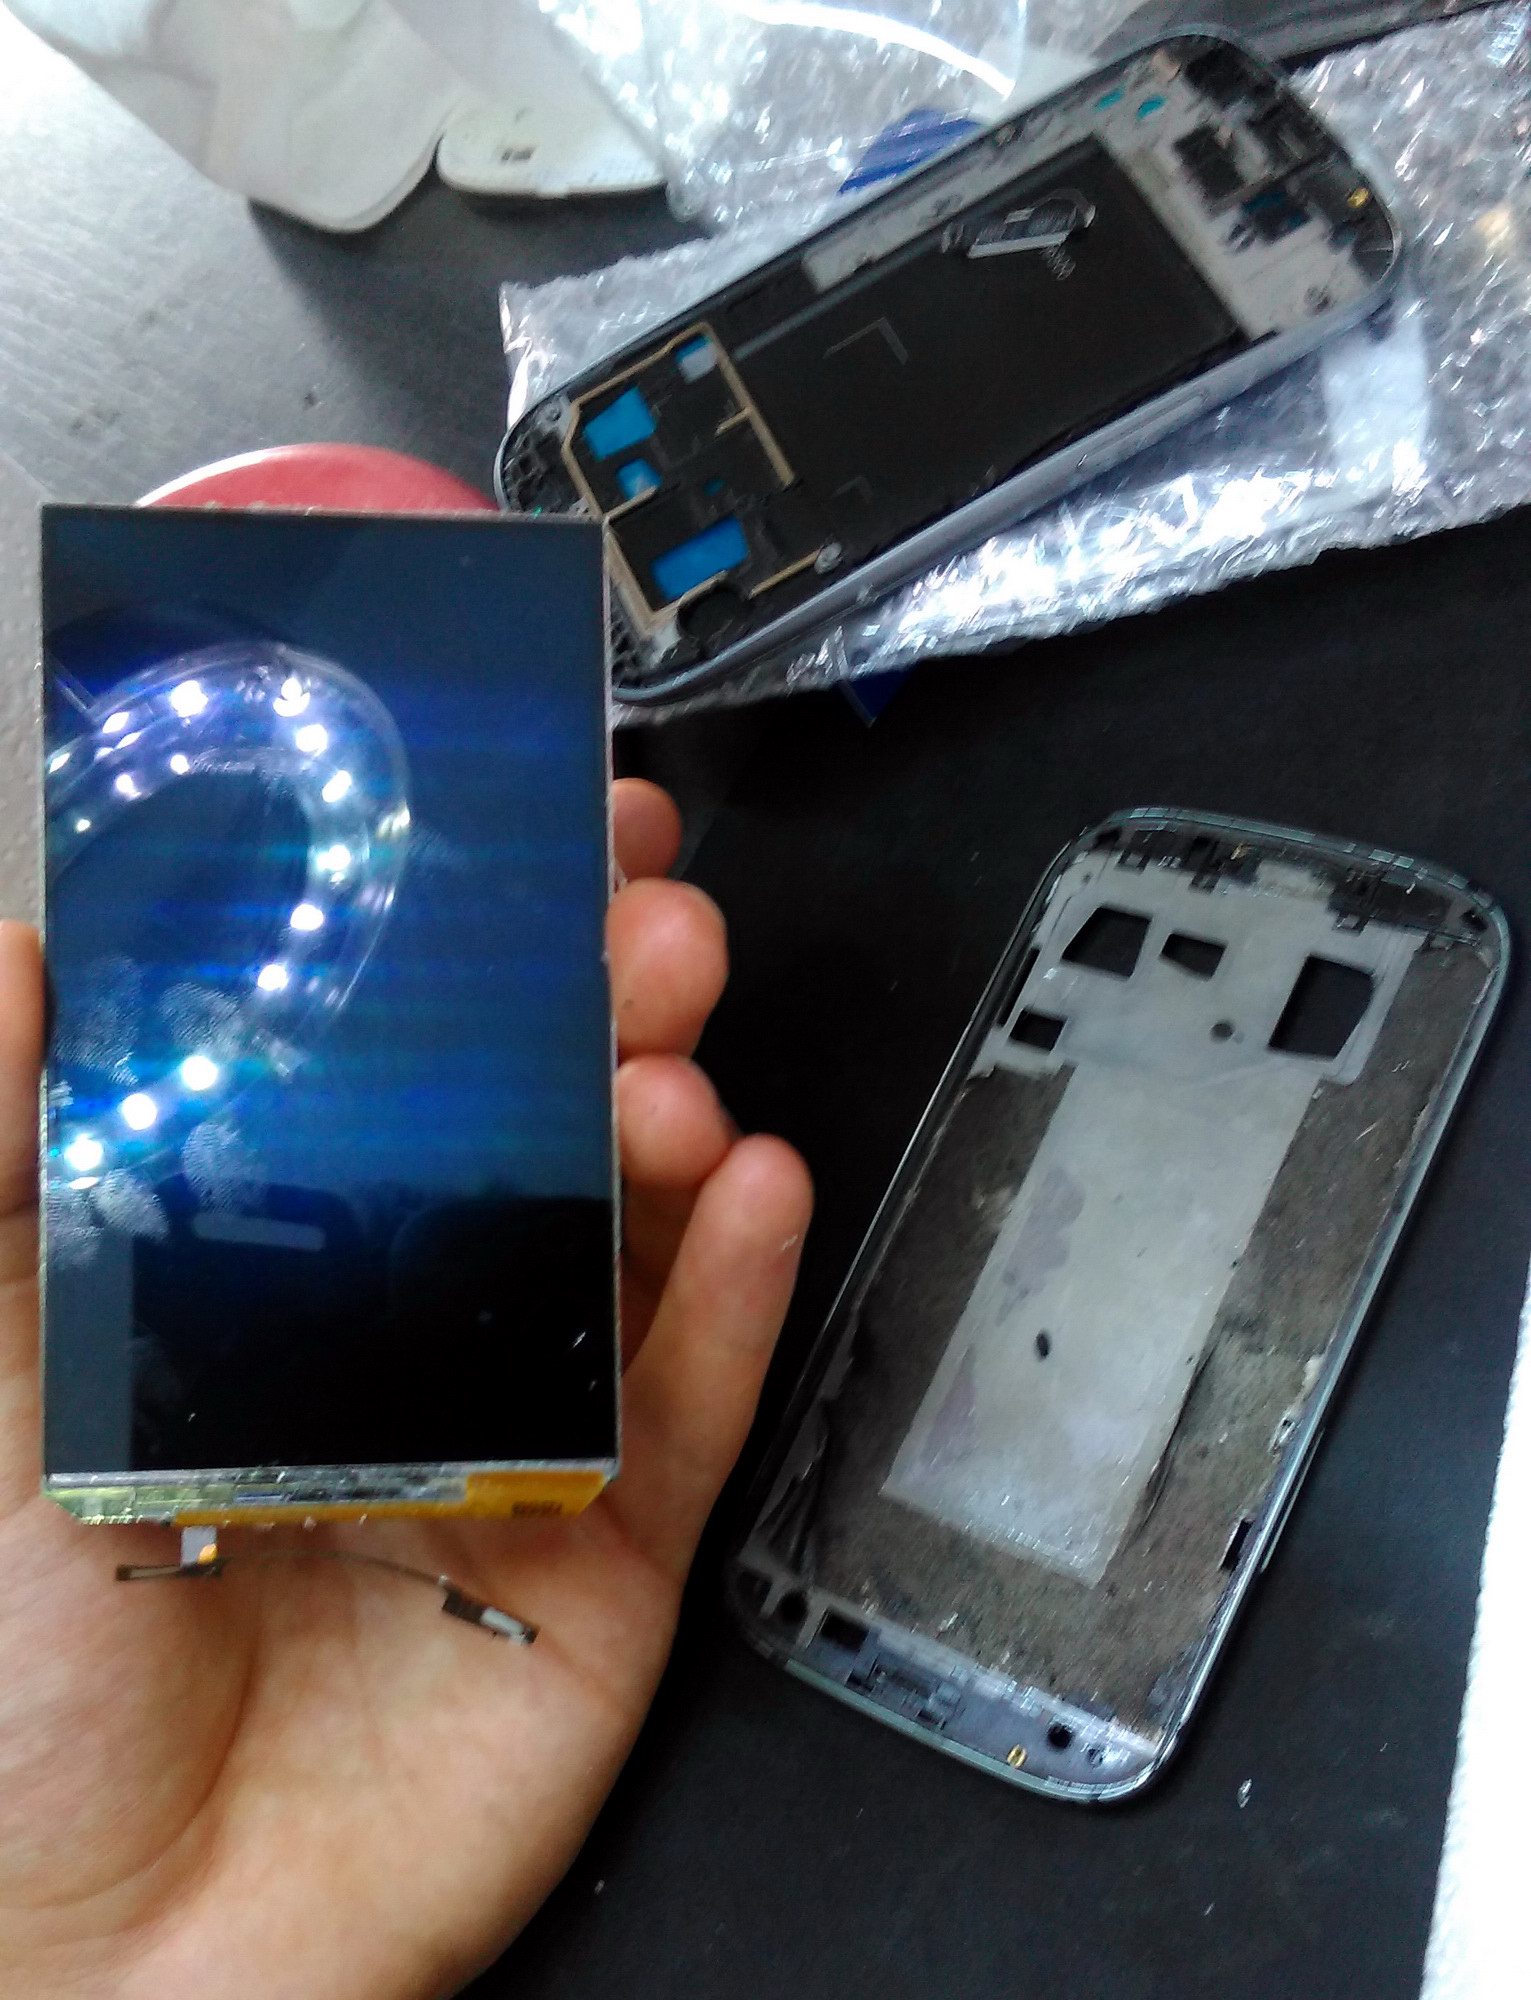
Most phones will have the digitizer glued to the screen and surrounding areas using loca gel. If that’s the case, heat up the center part of the screen and carefully insert the cards all the way to cut that as well. Go around the whole edge after you think the digitizer is free just to make sure. Once cut, lift the digitizer by the top part keeping the bottom part close to the phone. Carefully retract the capacitive keys from the digitizer. After this, you can remove the digitizer completely. The phone should look like the side image.
Step 4
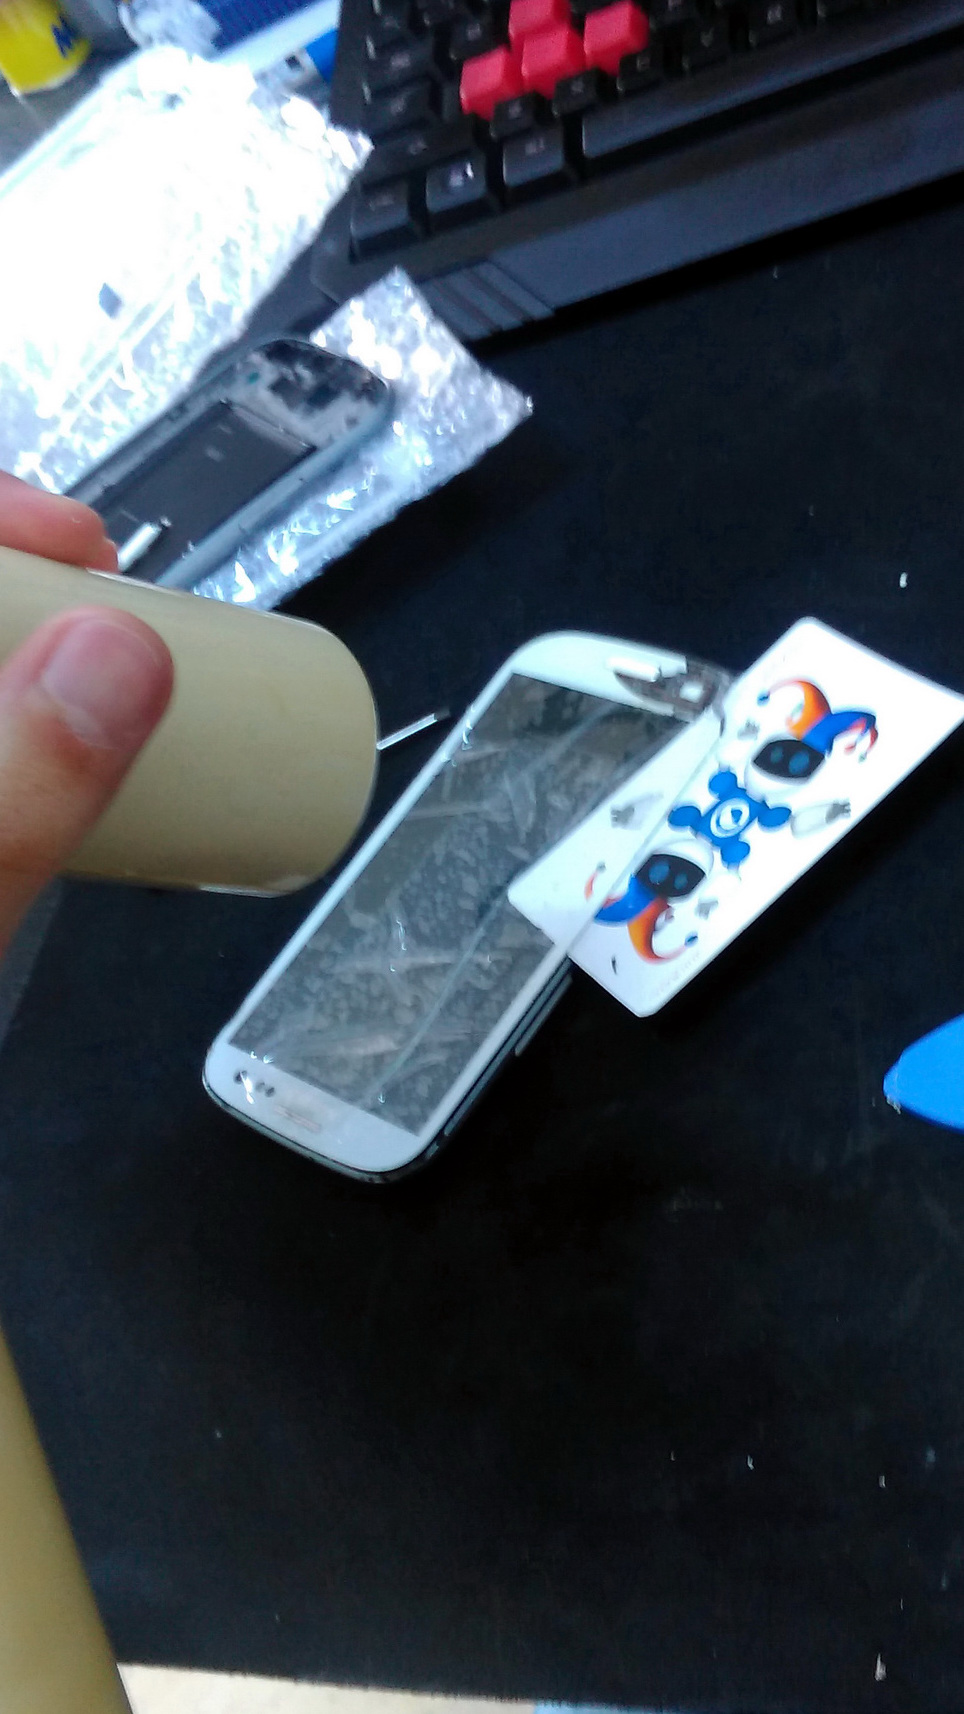
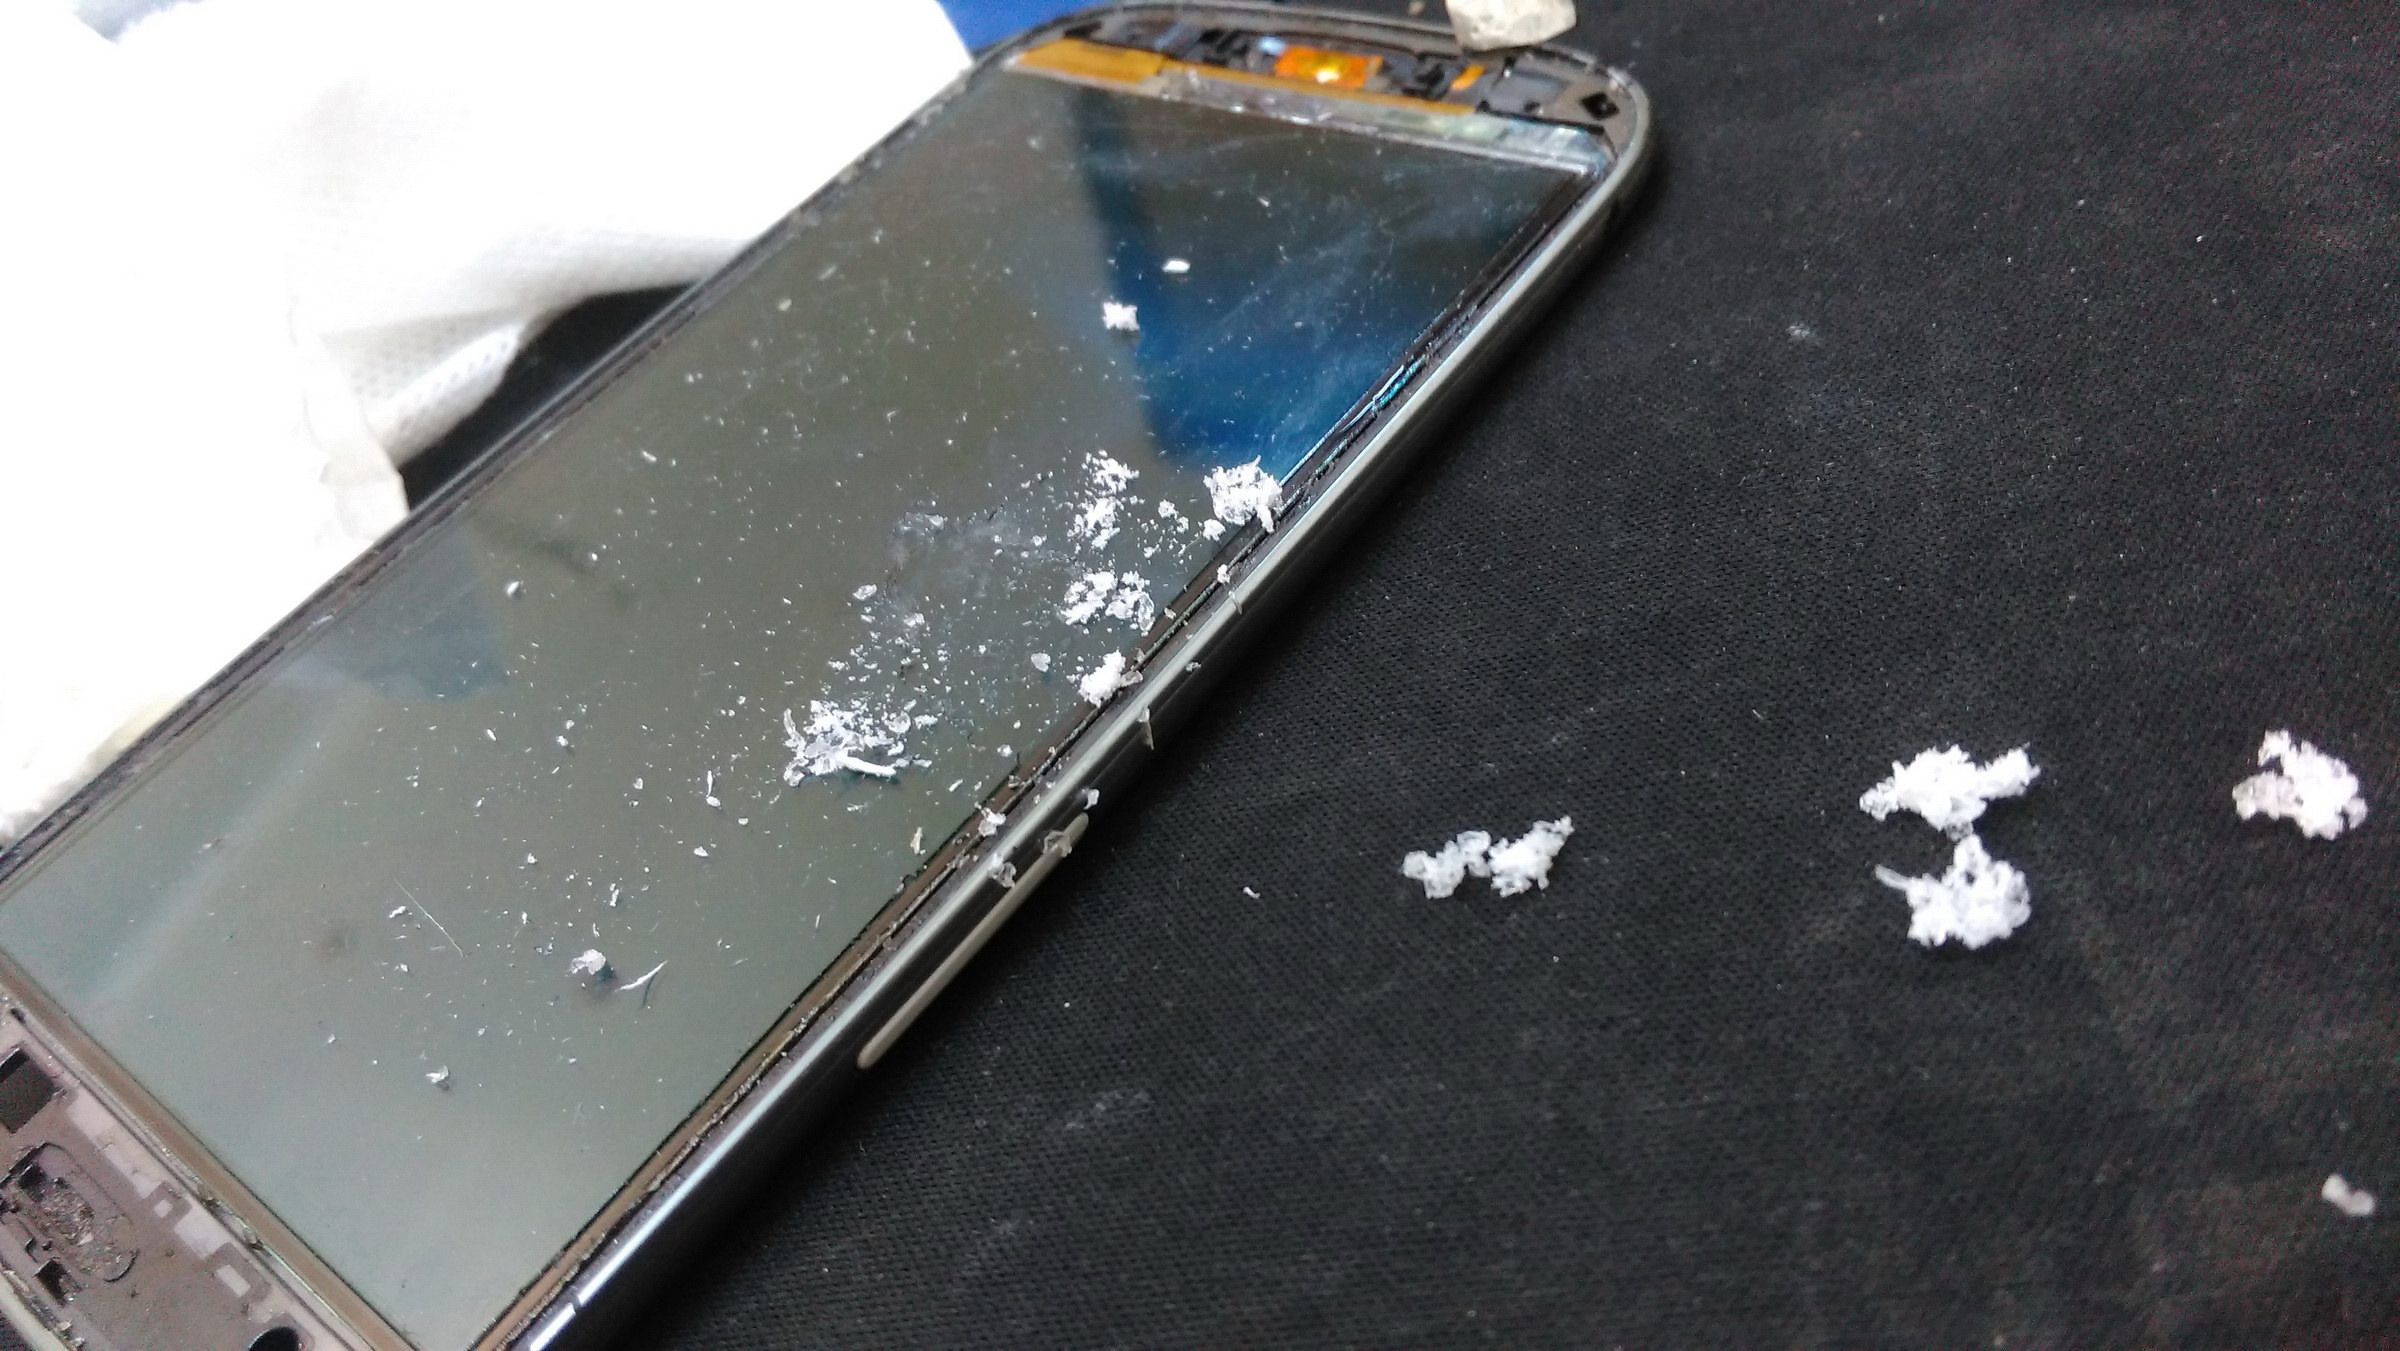
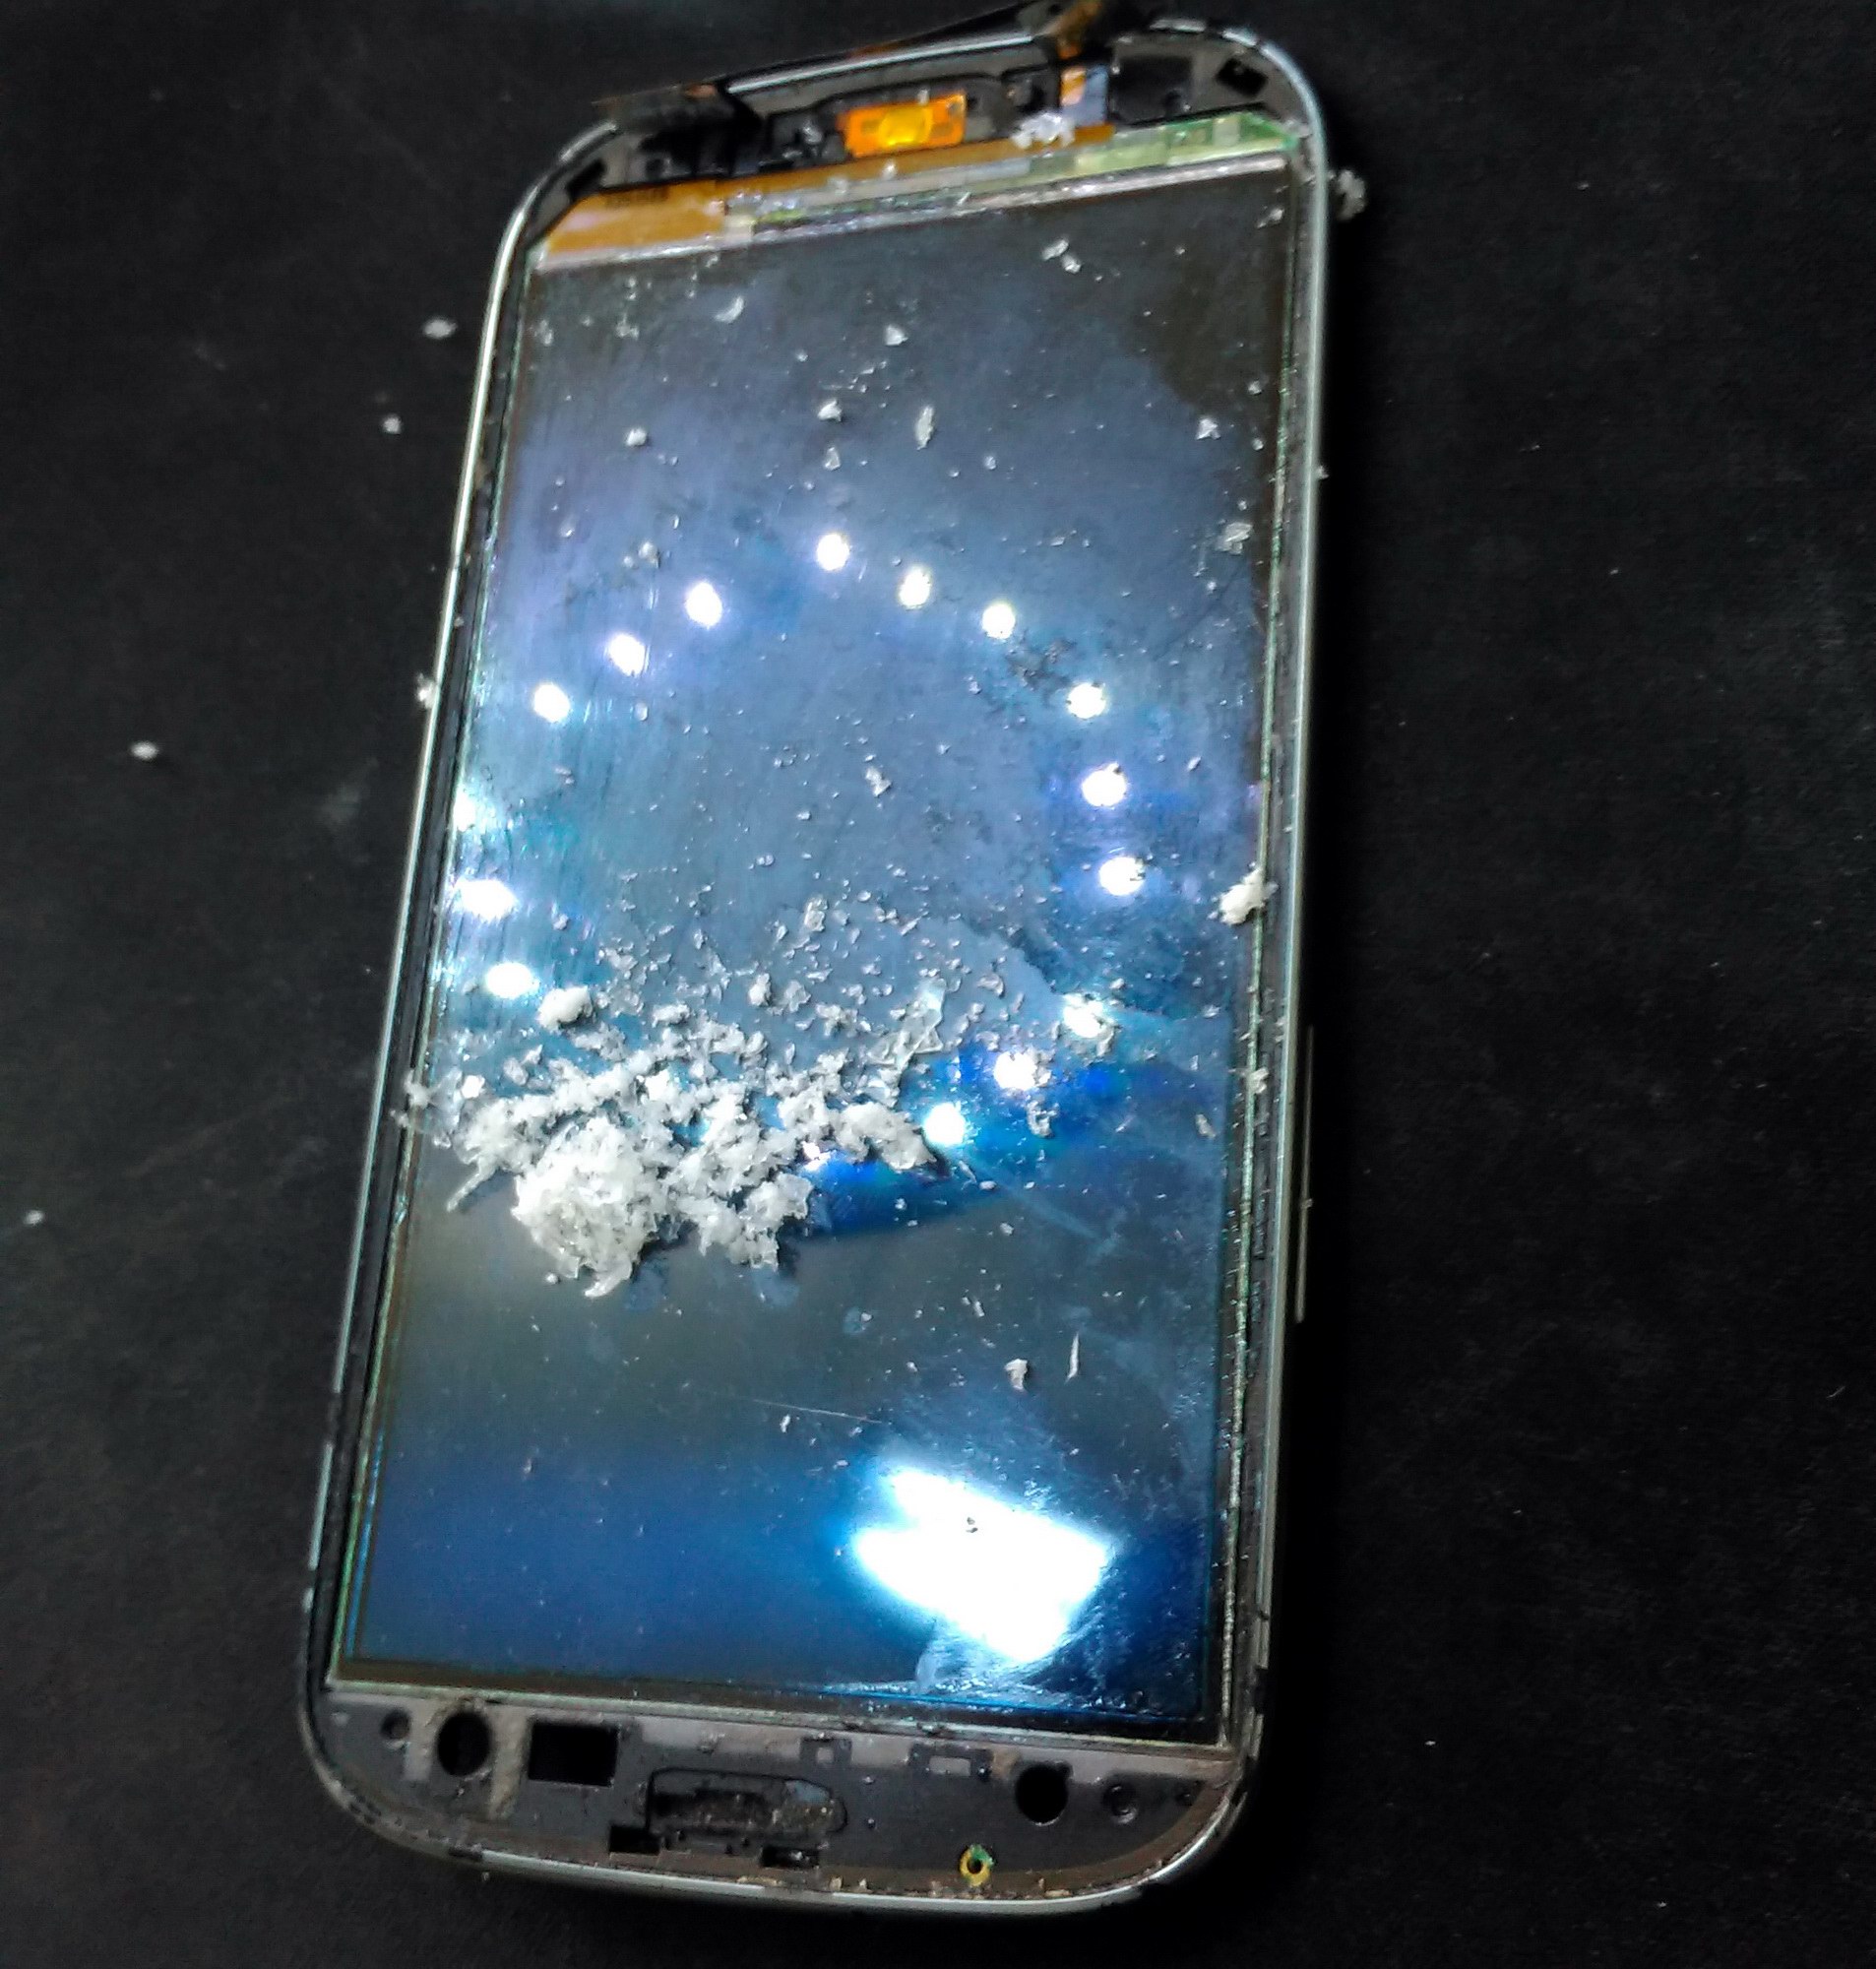
As mentioned above, the loca gel is used to glue the screen to the digitizer. If that’s the case, you will have a lot of it to remove from the display. The picture above shows just how much. Also, there might be small crack-looking lines on the screen where the digitizer was cracked. Don’t be alarmed, it’s just the gel that is cracked, not the display (if you were careful).
 You need to clean the gel from the display since we won’t be using it anymore. Besides that, we need a clean display for a crisp image. Grab your heat gun again and start heating up the surface. Using the isopropyl alcohol, you must rub down the gel. This will take some time and requires a lot of patience. I used my fingernail since it gives you more control over other, not so safe “tools”. This I found to be the safest way to clean it. Start in the middle of the display and work your way around, cleaning every corner.
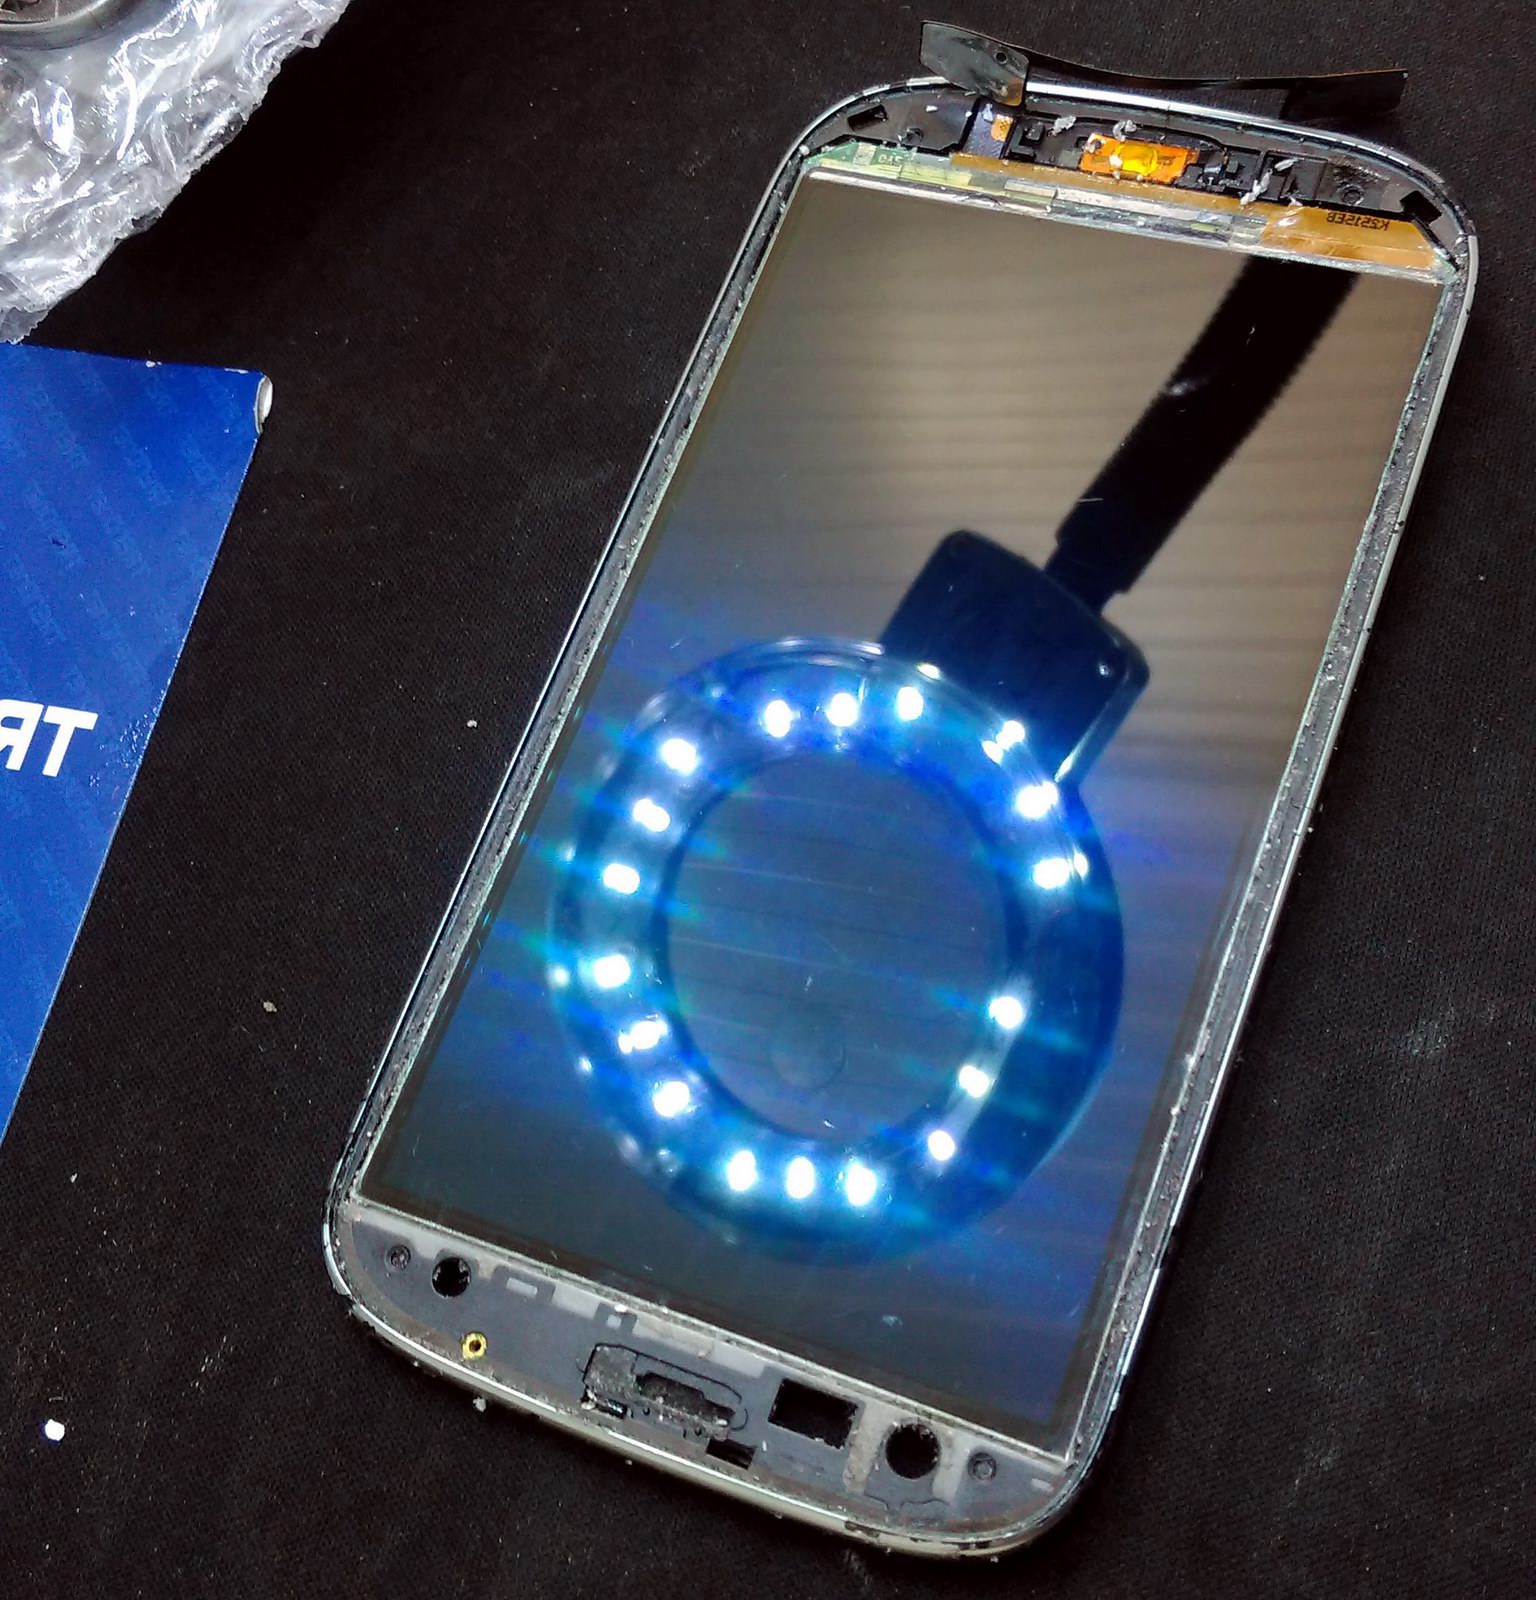
Once satisfied with the result use alcohol to finish it up. Don’t pour it over the display since it can get under the glass and cause trouble.
Step 5 (optional)
This step is necessary only if you’re replacing the display or removing it due to frame damage or other reasons.
Turn the phone around and start heating under the battery space. Give it plenty of heat since this is a very powerful adhesive. This is where the screen protector comes in hand, it being very flexible while thin.
 Constantly check the temperature of the frame by touching it. Do not exaggerate with heat since it might damage the display. Once hot enough insert the screen protector trough the side of the display, making sure it goes in easy.
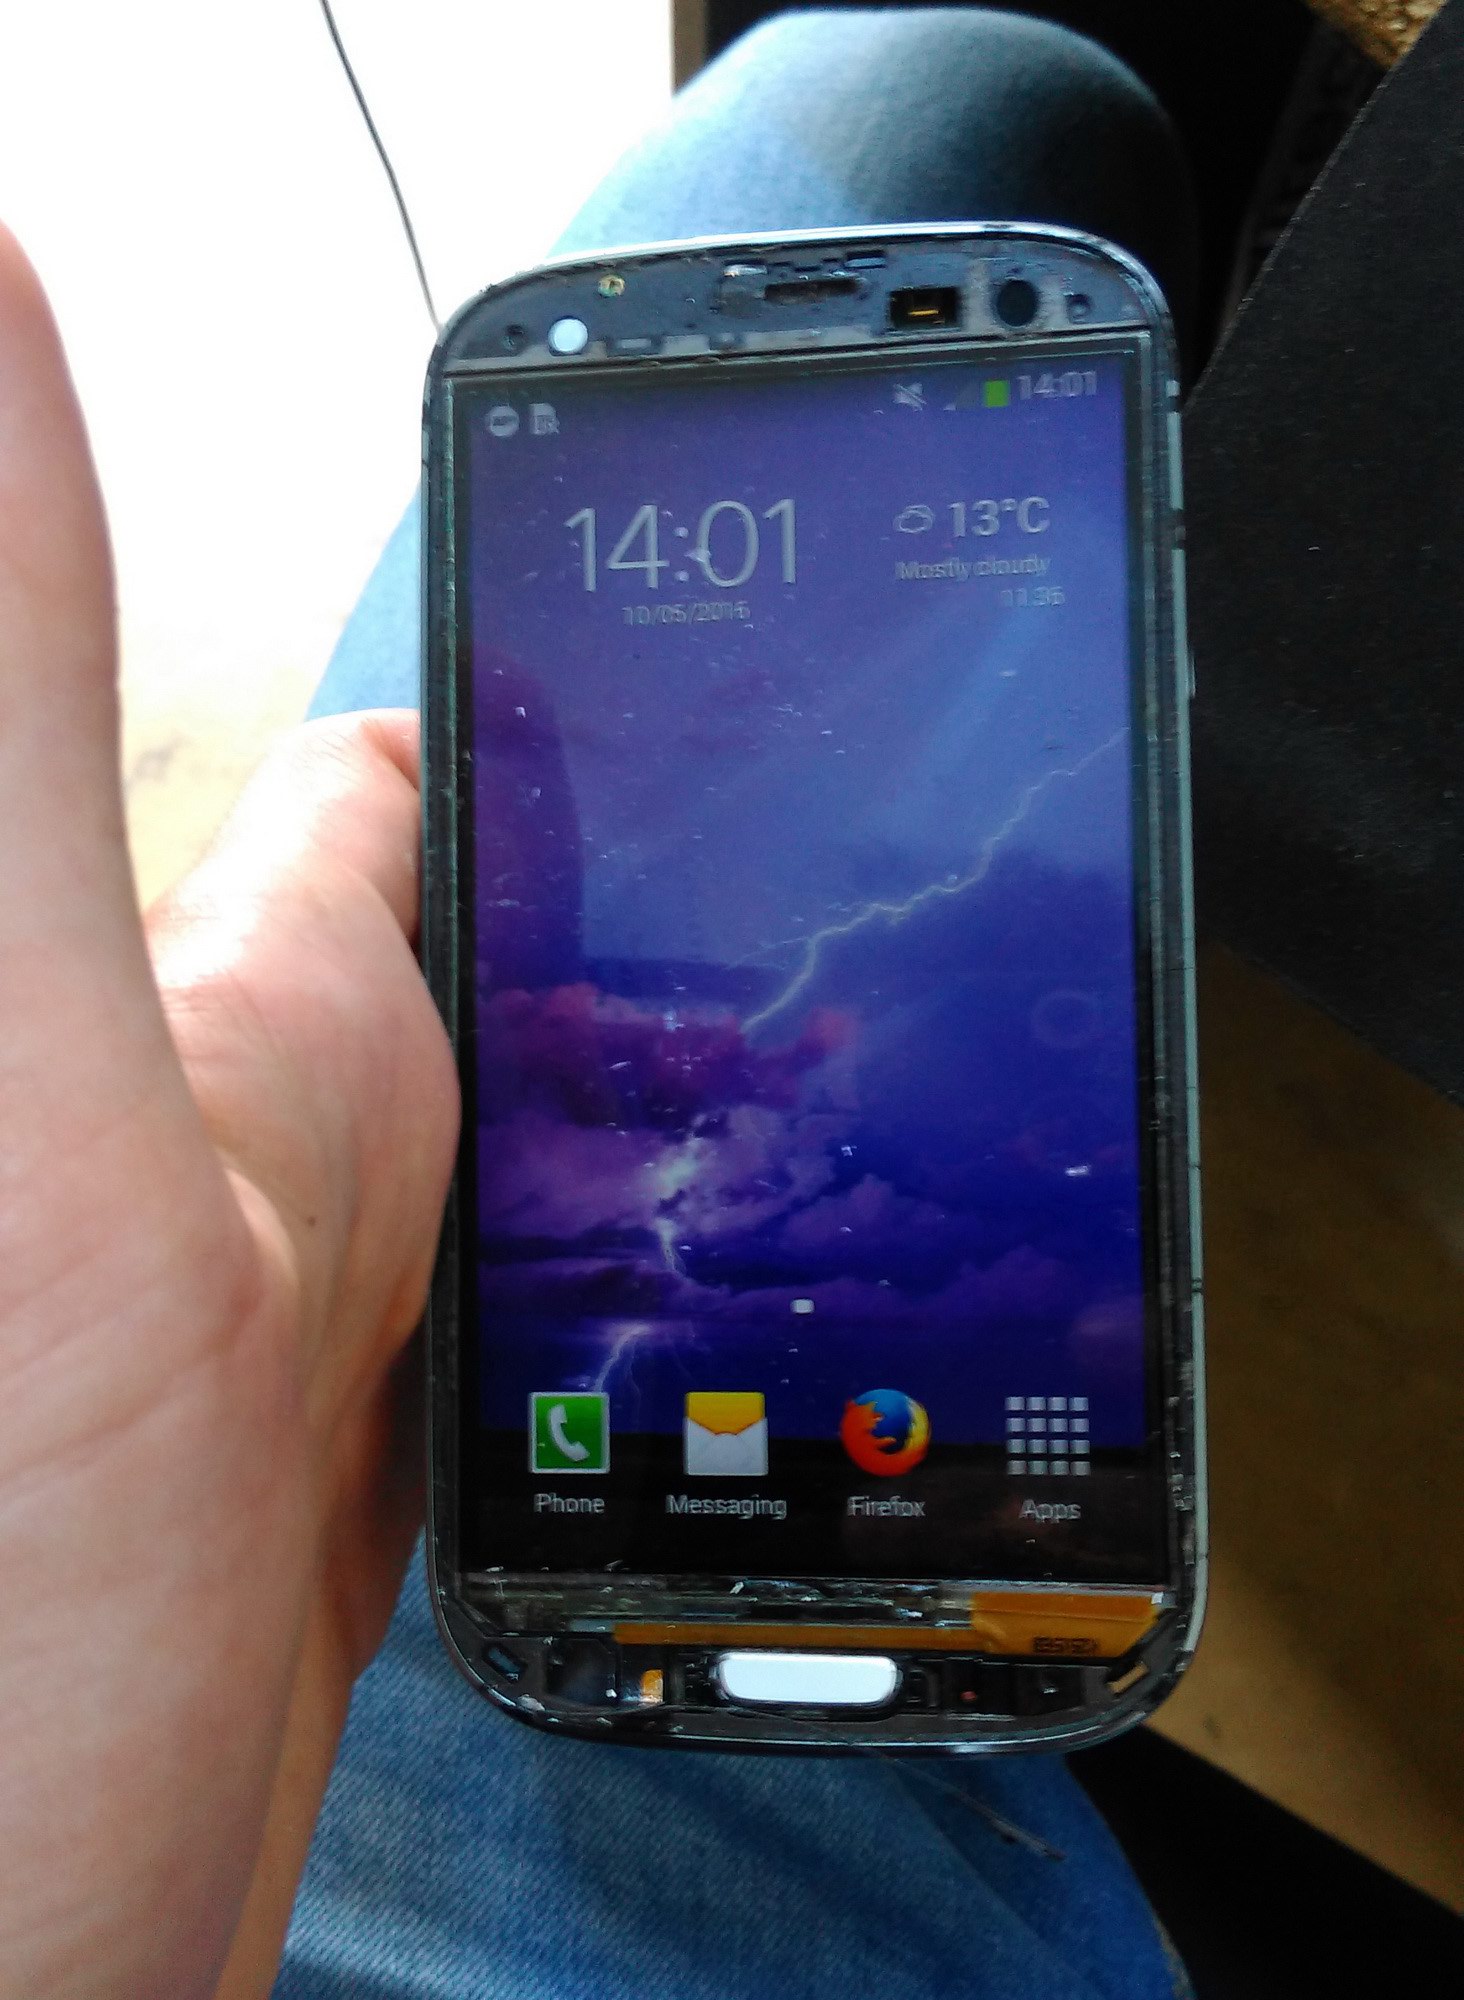
Continue to heat the back as you go around with the plastic “tool”, just as you did with the digitizer. Please note: on the bottom of the display rests the connectors for it and for the soft keys. Be gentle in this area. Also, if you’re replacing the middle frame, remove the home button from this one. (if your new frame didn’t come with a new one). Go around under the display a few times to loosen up the adhesive. Once done, lift the top side of the display, keeping the bottom side still attached. Carefully detach the connectors and other flex cables. The result will look like this:
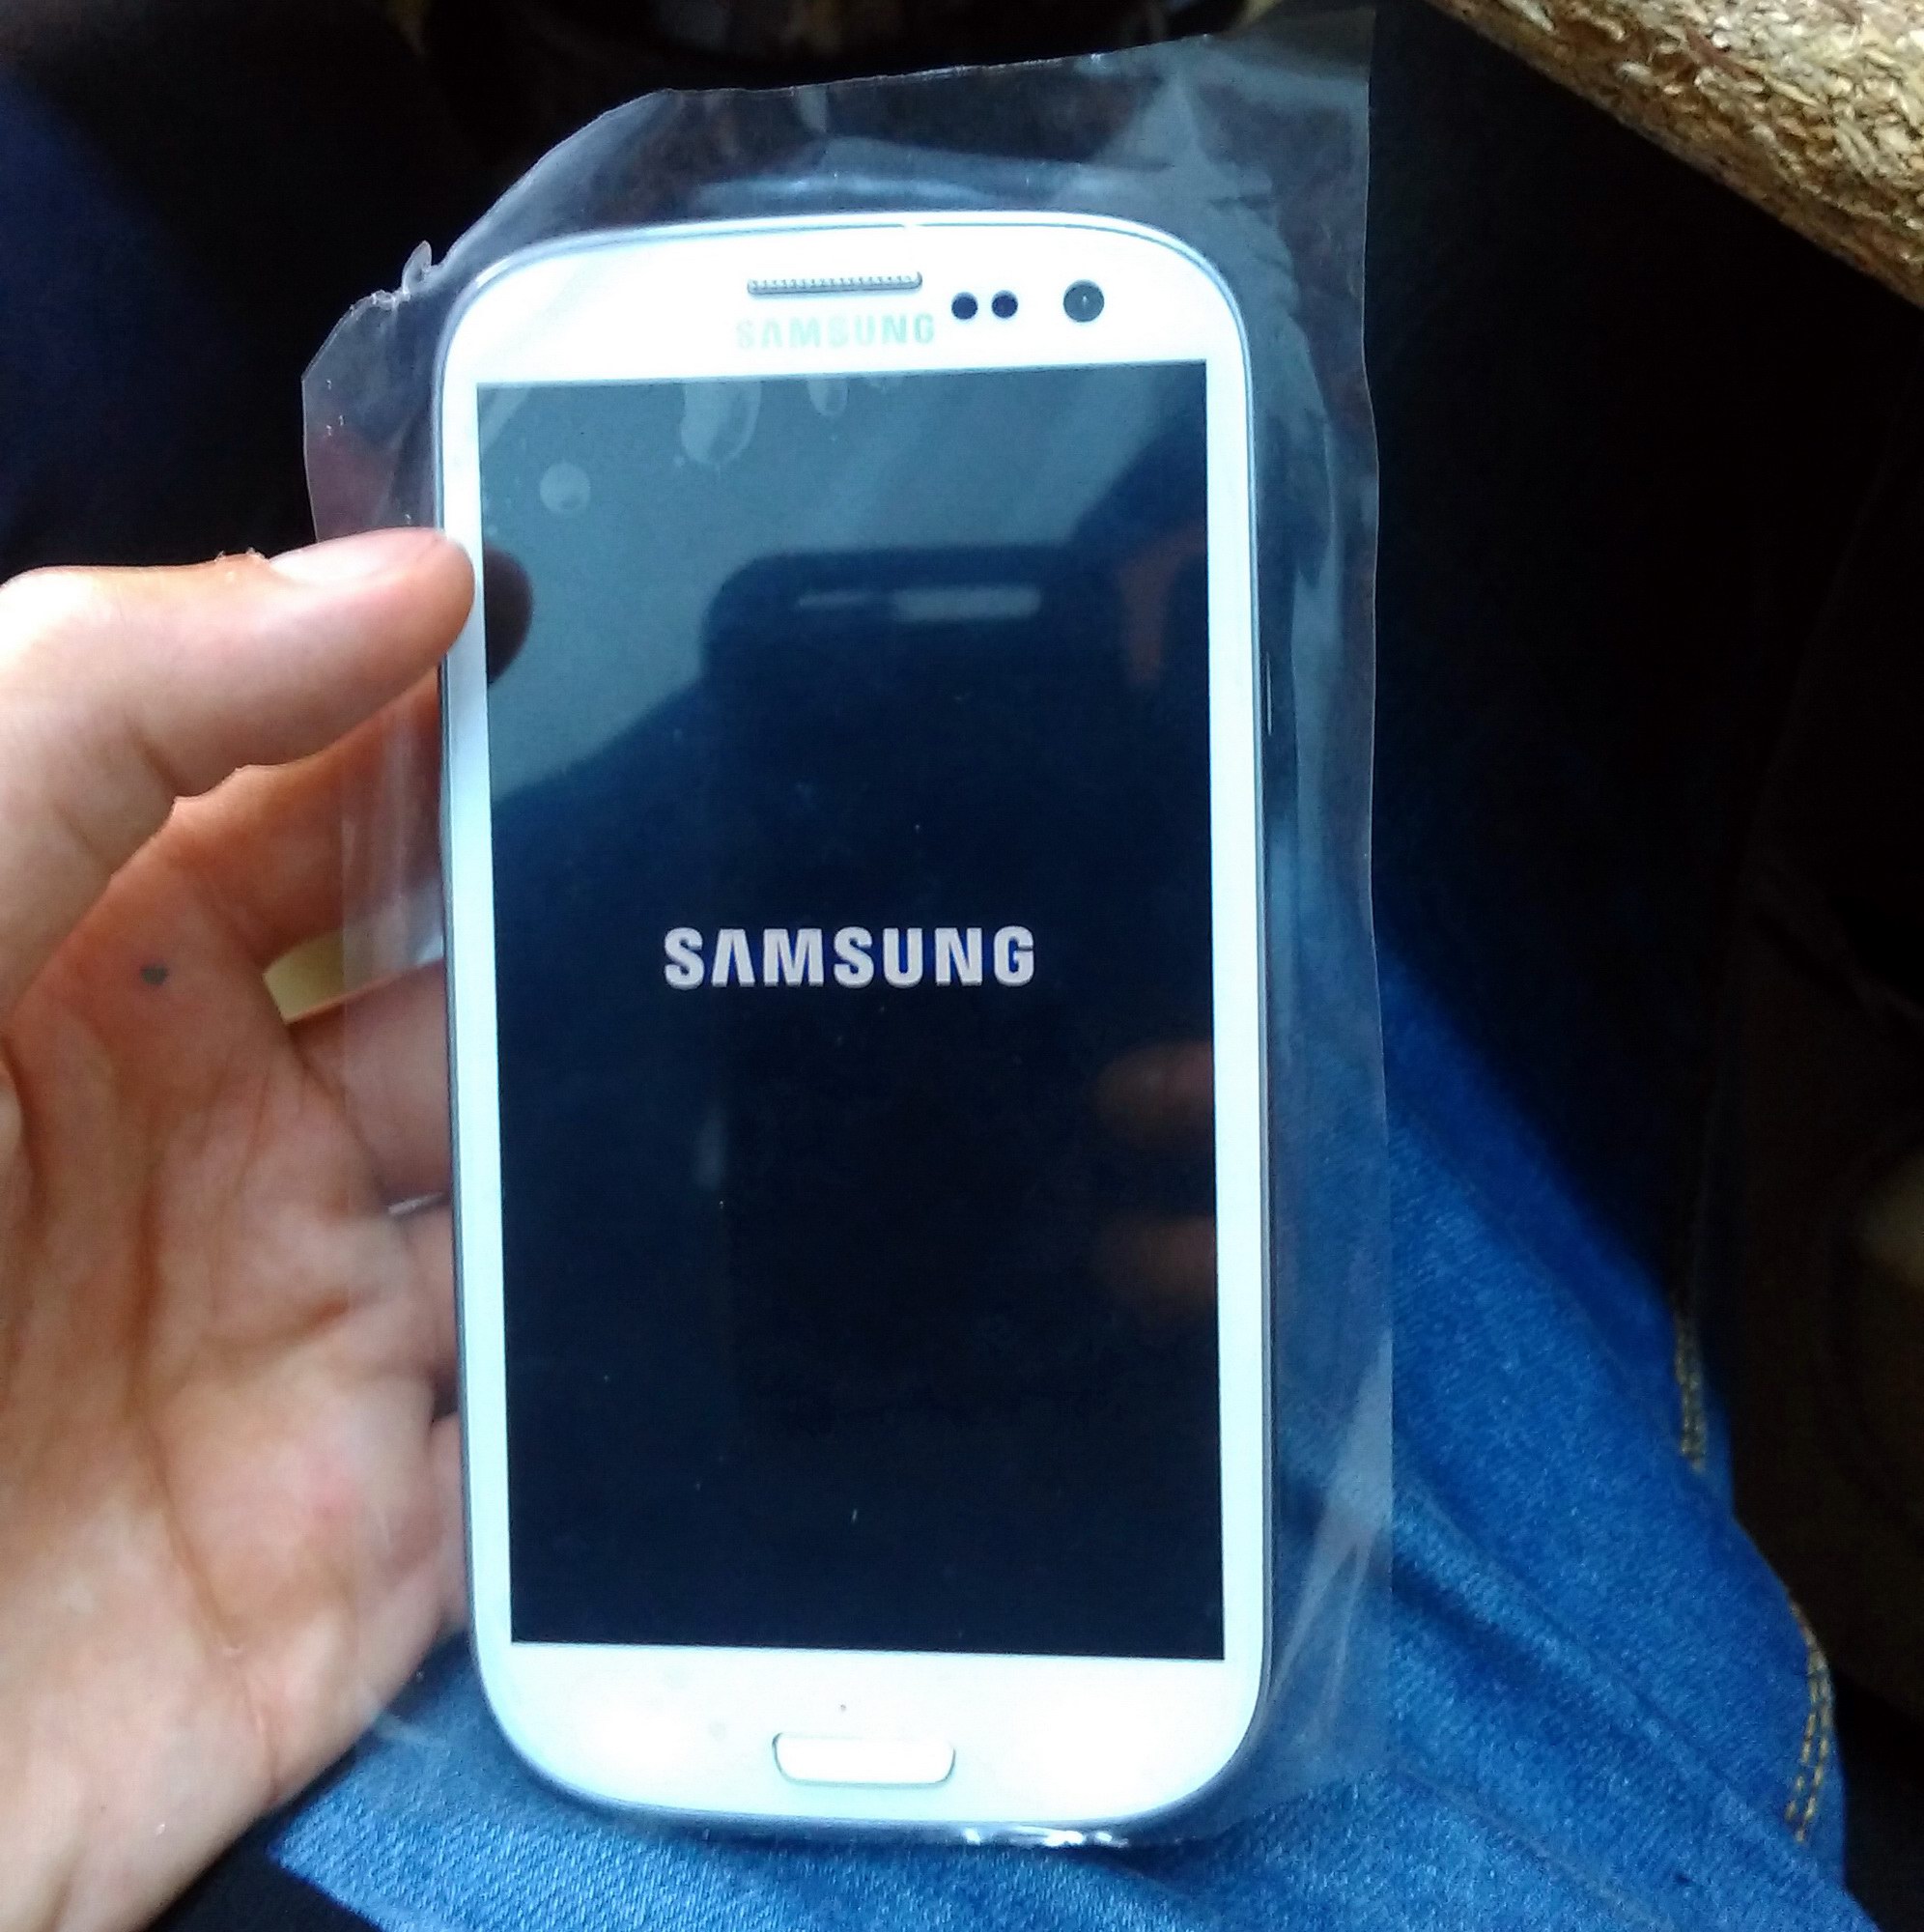
Note: A good idea would be to check from time to time if the display still works. Just connect it to the board and start it up. If everything is fine, move on to the next step.
Step 6
Clean the back of the display as well as you can since you need to use double sided tape to mount it to the new middle frame (if it does not come with the adhesive in place). Mount the new (or old) home button before you attach the display.
This step requires a lot of attention: center the display as well as you can, while passing the connector trough it’s hole. Keep in mind you only have one chance, if you don’t want to remove it again, increasing the chance to damage it. (My new frame came with double sided adhesive on the sides, for the digitizer.) After you mounted the display, it’s time to mount the digitizer. Same procedure, center it as well as you can and gently press down all around the edge.
Go around a few times just to be sure.
Step 7
Almost there. Start mounting the parts to the new frame, making sure you don’t put too much pressure on the new digitizer. Work on a flat and soft surface with the phone facing down. Install all the screws and check for good alignment of the plastic pieces.
Final Step
Insert battery and start the phone.
Enjoy your result.